The backstory:
The couple that hired me for this mural has an extensive Halloween-themed layout they set out in their house. Each year, the neighborhood kids come by and enjoy the layout during trick-or-treating. Moving forward, the homeowners decided they wanted to avoid the trouble of setting it up and tearing it down each year. Instead, they decided to make part of their garage a dedicated room for a permanent installation. I provided this Halloween mural on the outer wall before entering the inner room. (I also provided the mural in the entirety of the layout room, but more on that later.) Read on for a brief look into my process in creating this Halloween mural.
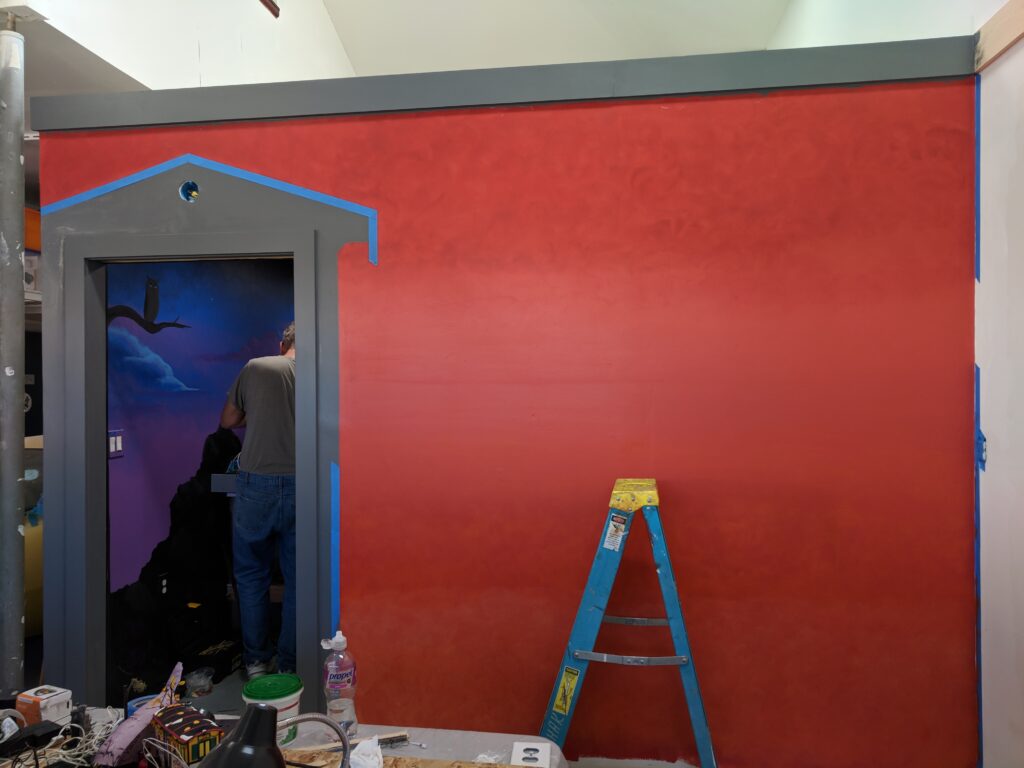
The homeowners had prepped the base orange of the wall for me as well as the grey trim. They wanted the door to the main room to look like a mausoleum. I extended the paint color from the framing of the door to give an outline for the building. After taping off the edges of the mausoleum, I applied several shades of rubs to the orange sky. These rubs give the background depth and the hint of a horizon.
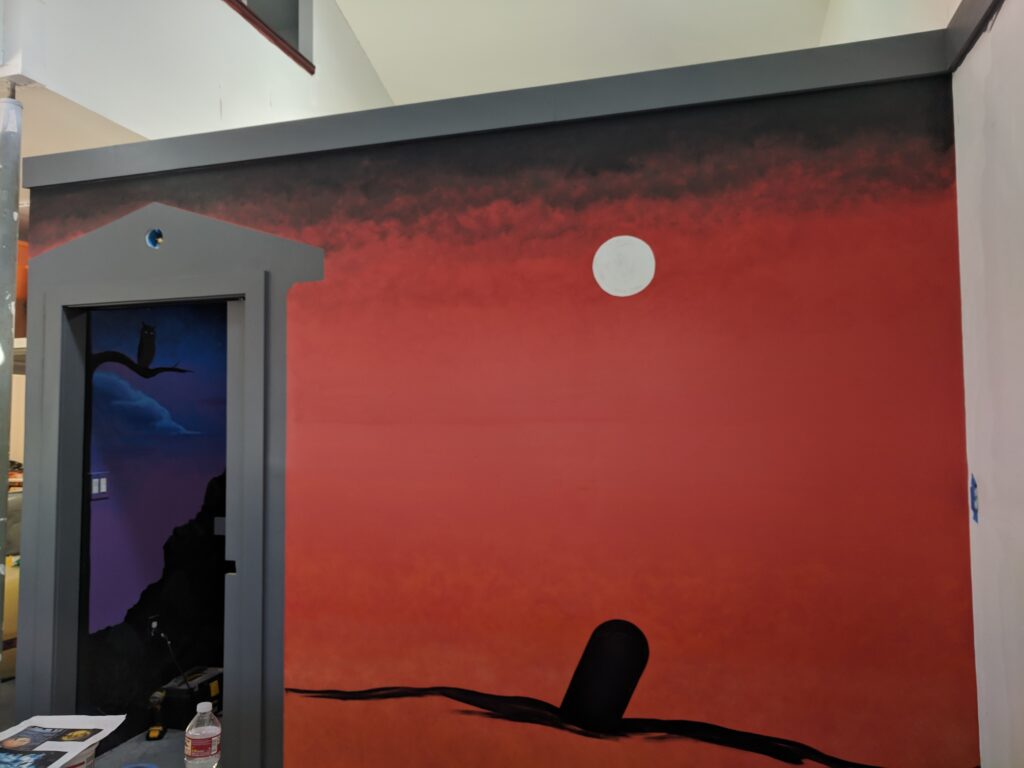
Next, I did a few more rubs at the top of the sky to give the impression of dark clouds closing in. I followed up with the beginnings of some of the focal points for the Halloween mural, including the full moon and the start of the cemetery.
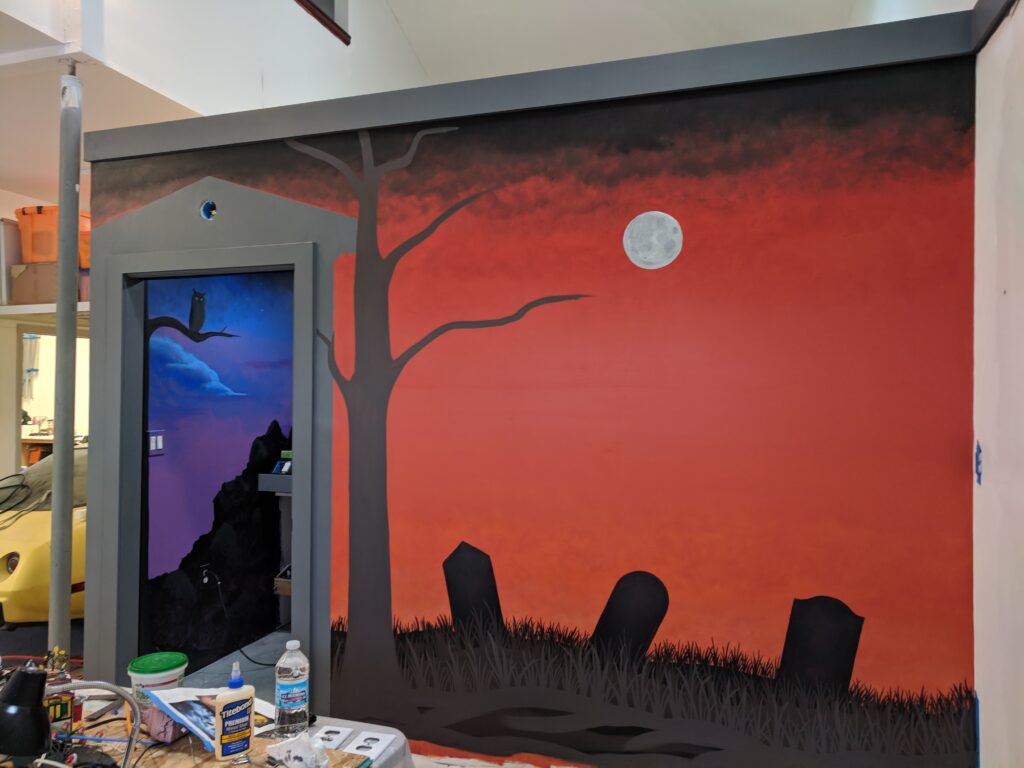
For the next round, I finished the details on the moon, and made progress on the tree next to the mausoleum. I added in more tombstones and the black layer of grass and the hillside. This was followed by another layer of grass in a slightly lighter greyish brown color. (Bonus: in the picture above you can spot part of the inner room’s mural I had completed earlier in the year. You can spot the owl on a tree branch, and the rocky cliff leading up to…well, you’ll have to wait and see!)
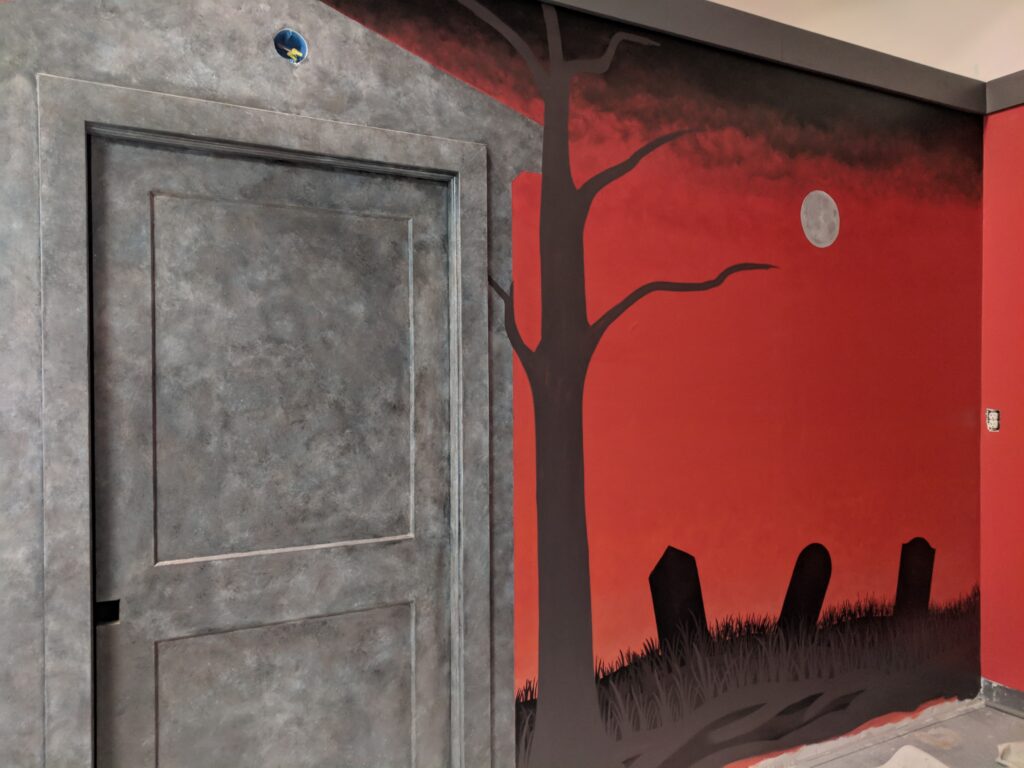
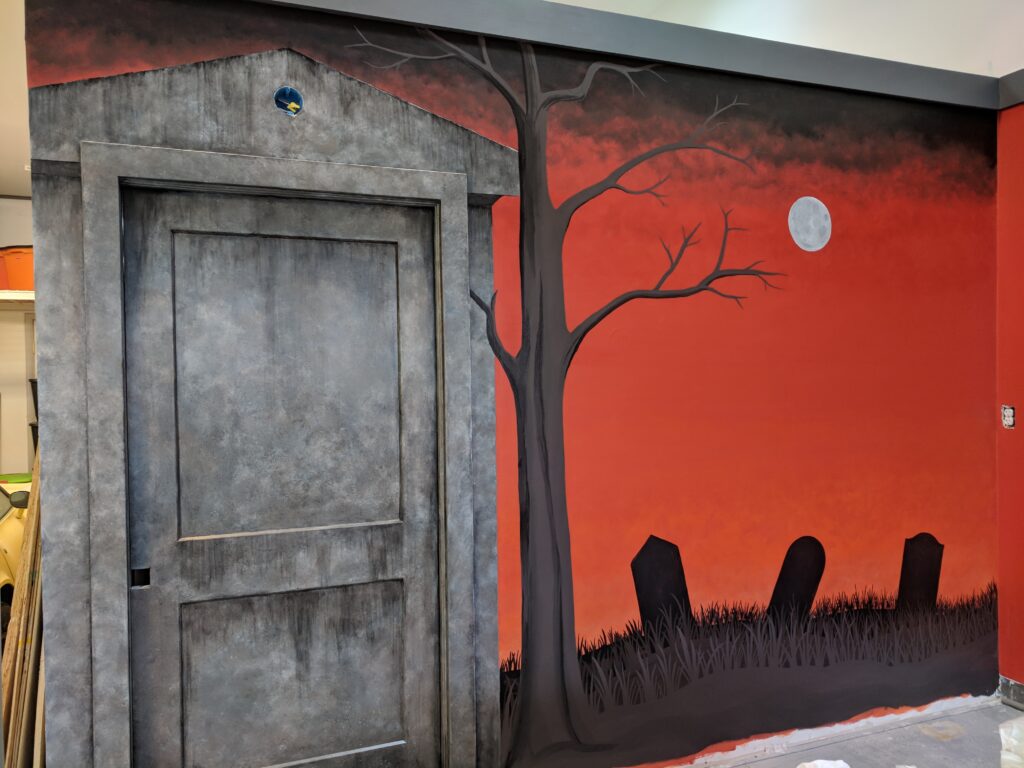
I turned my attention next to the mausoleum stone texture. I applied several layers of different shades of grey, in different application styles, to give the stone texture some depth. In the picture above, as you can see, the outline of the building still needs some definition to really make it pop. That comes next.

Now, here’s some of my favorite detail! I used some darker shades of grey to add in the edges we needed to the flat surfaces. I also intentionally darkened around the actual edges of the door and trim to make those surfaces pop. Then, I simulated years of water stains and mold to give the door and roof a more realistic look. Finally, I finished up the details on the tree and cemetery, too. (Not pictured: after this picture was taken, the homeowners added in the bottom trim in front of the grass, and installed a very gothic hanging lamp over the door!)
Overall, this mural took four or five days at roughly five hours a day. If you’re interested in something like this at your residence or workplace in the Dallas metroplex area, please check out my Portfolio page for more examples. You can get in touch through my Contact page or on social media for a quote!