One of the more common decorative painting and faux finishing requests I get is for a faux marble finish. This is a quick overview of a faux marble fireplace project I did in a private residence in Longmont, CO.
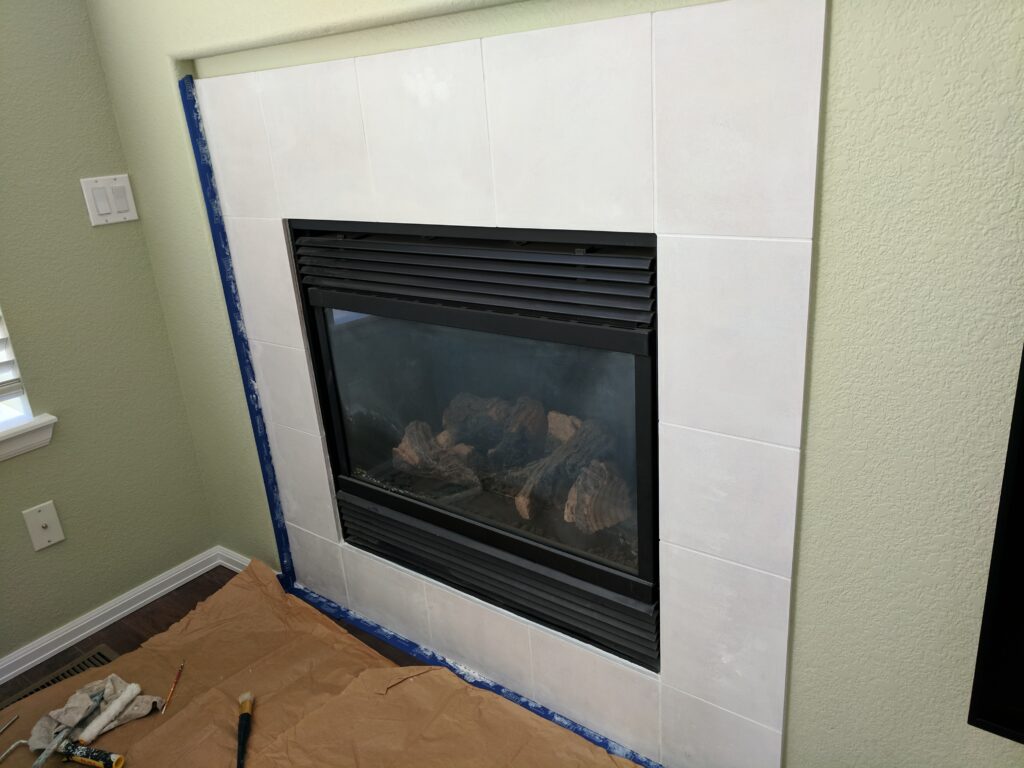
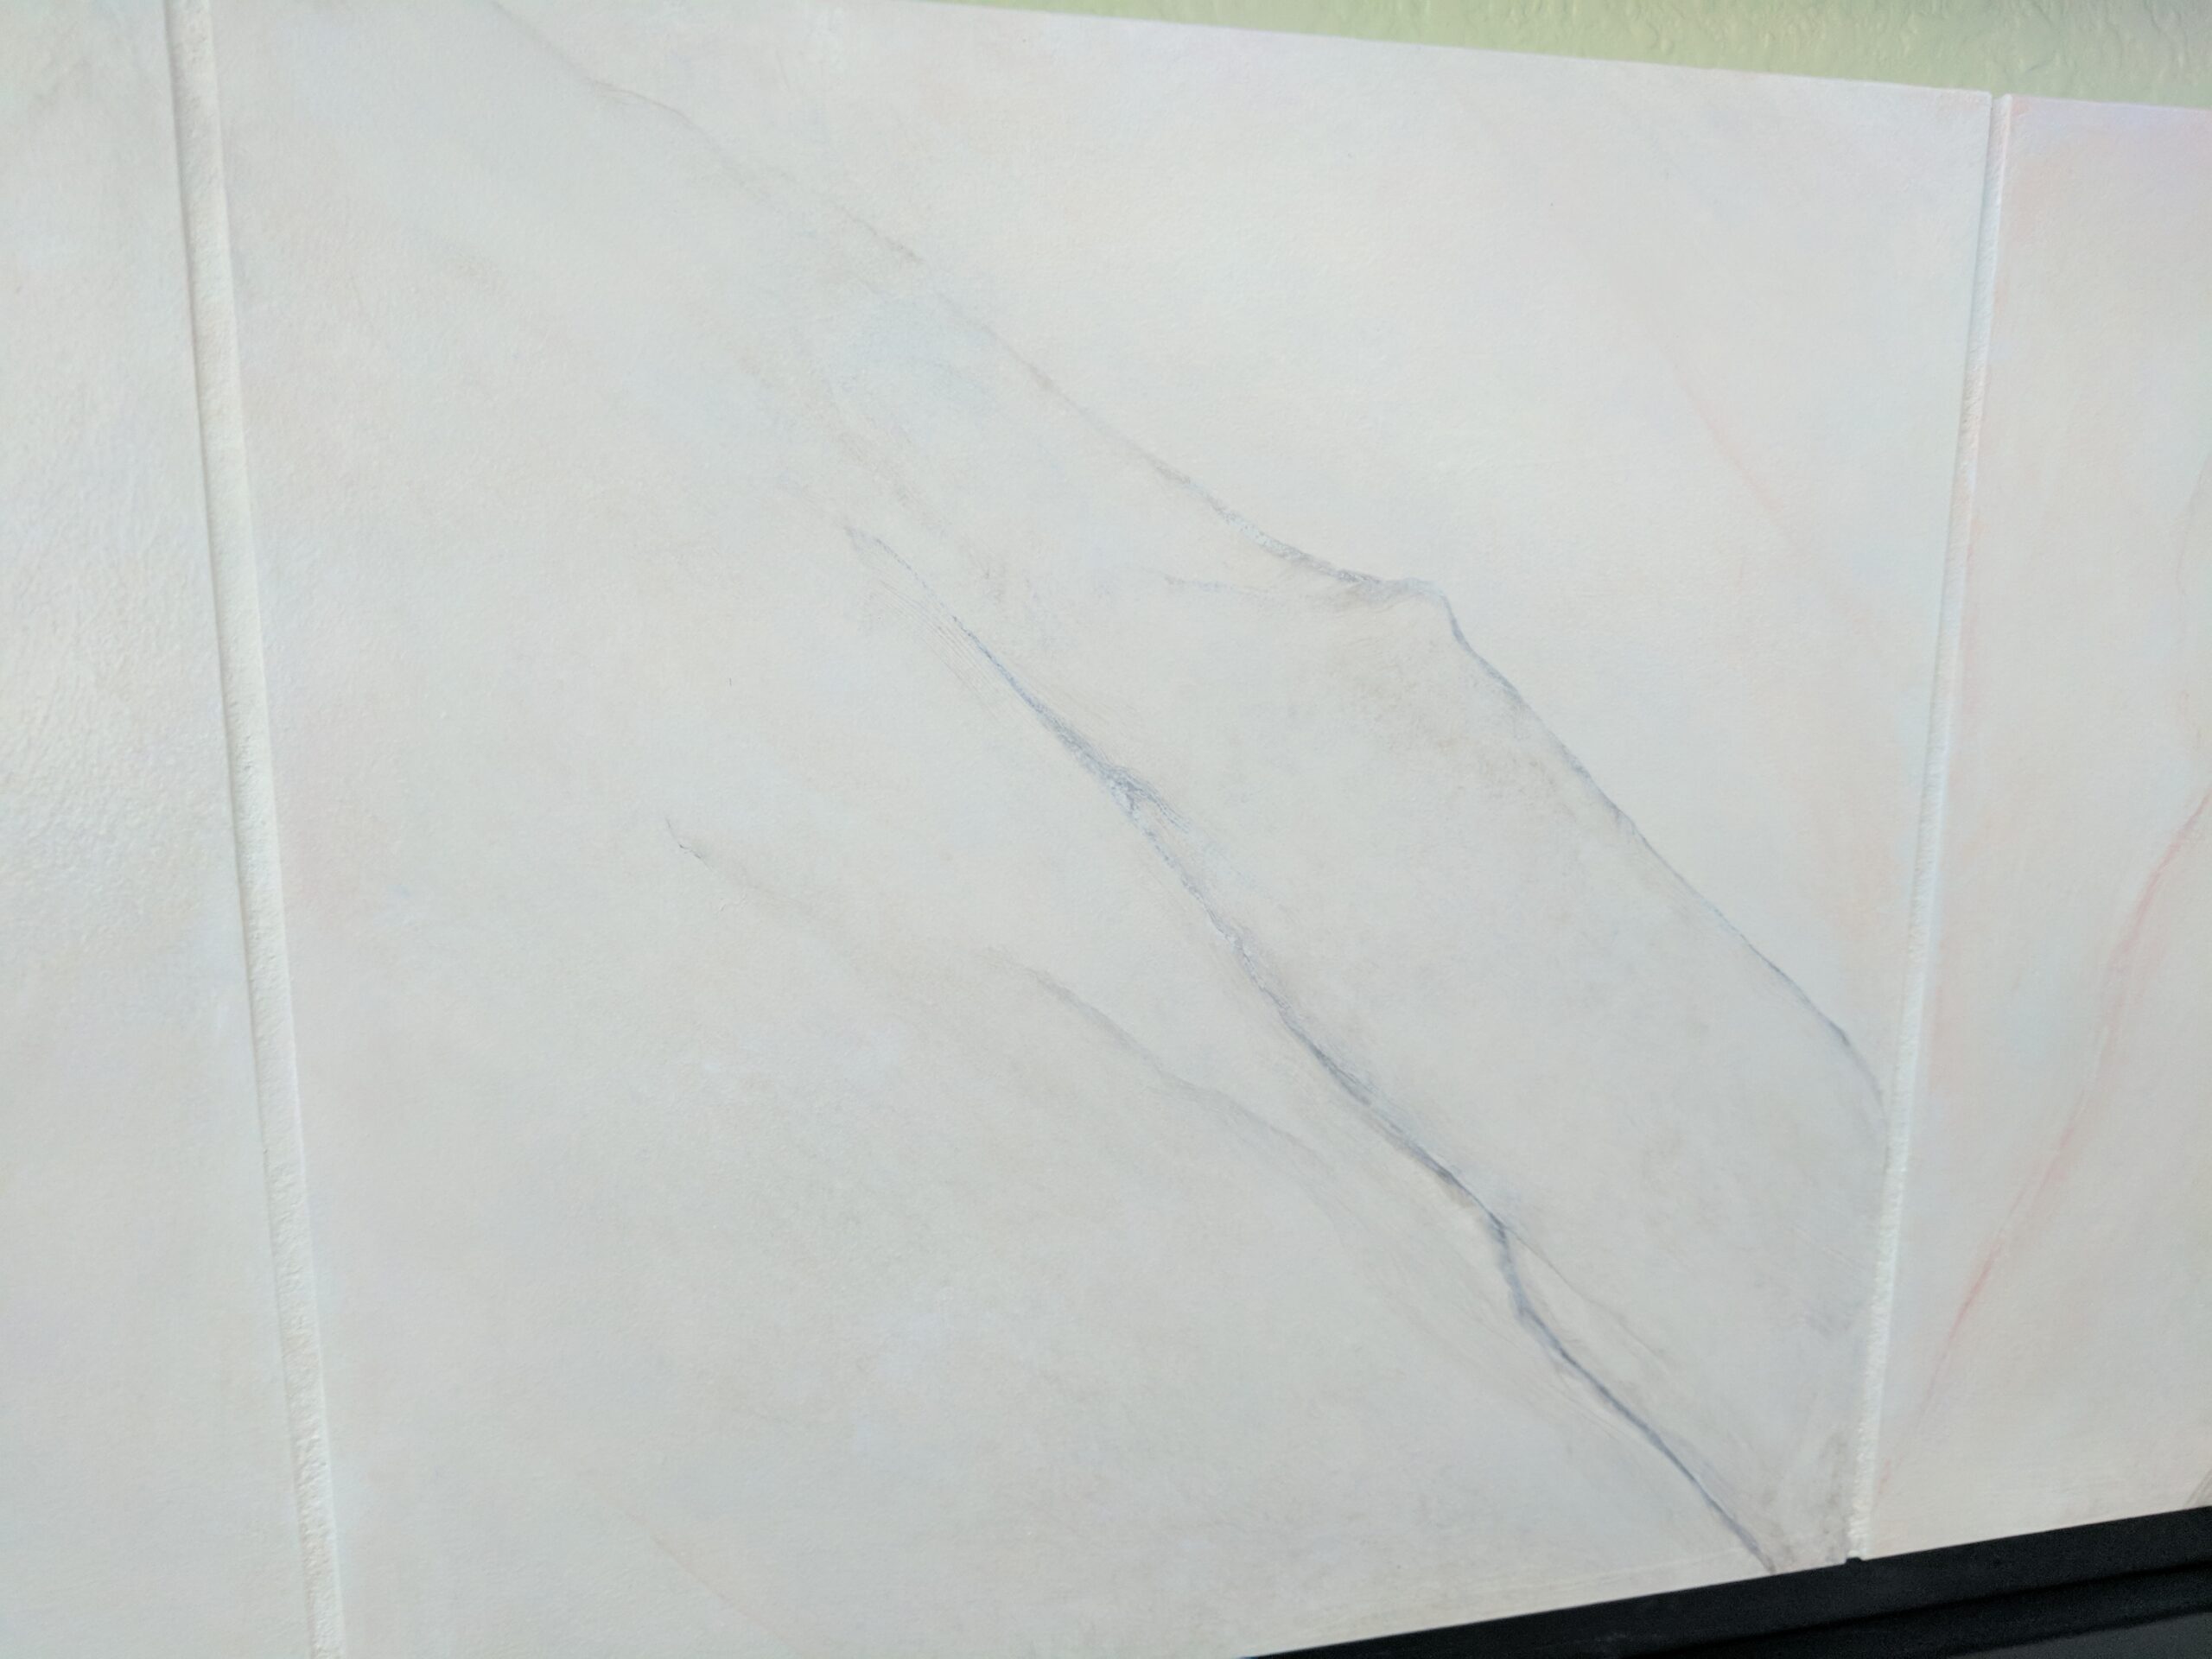
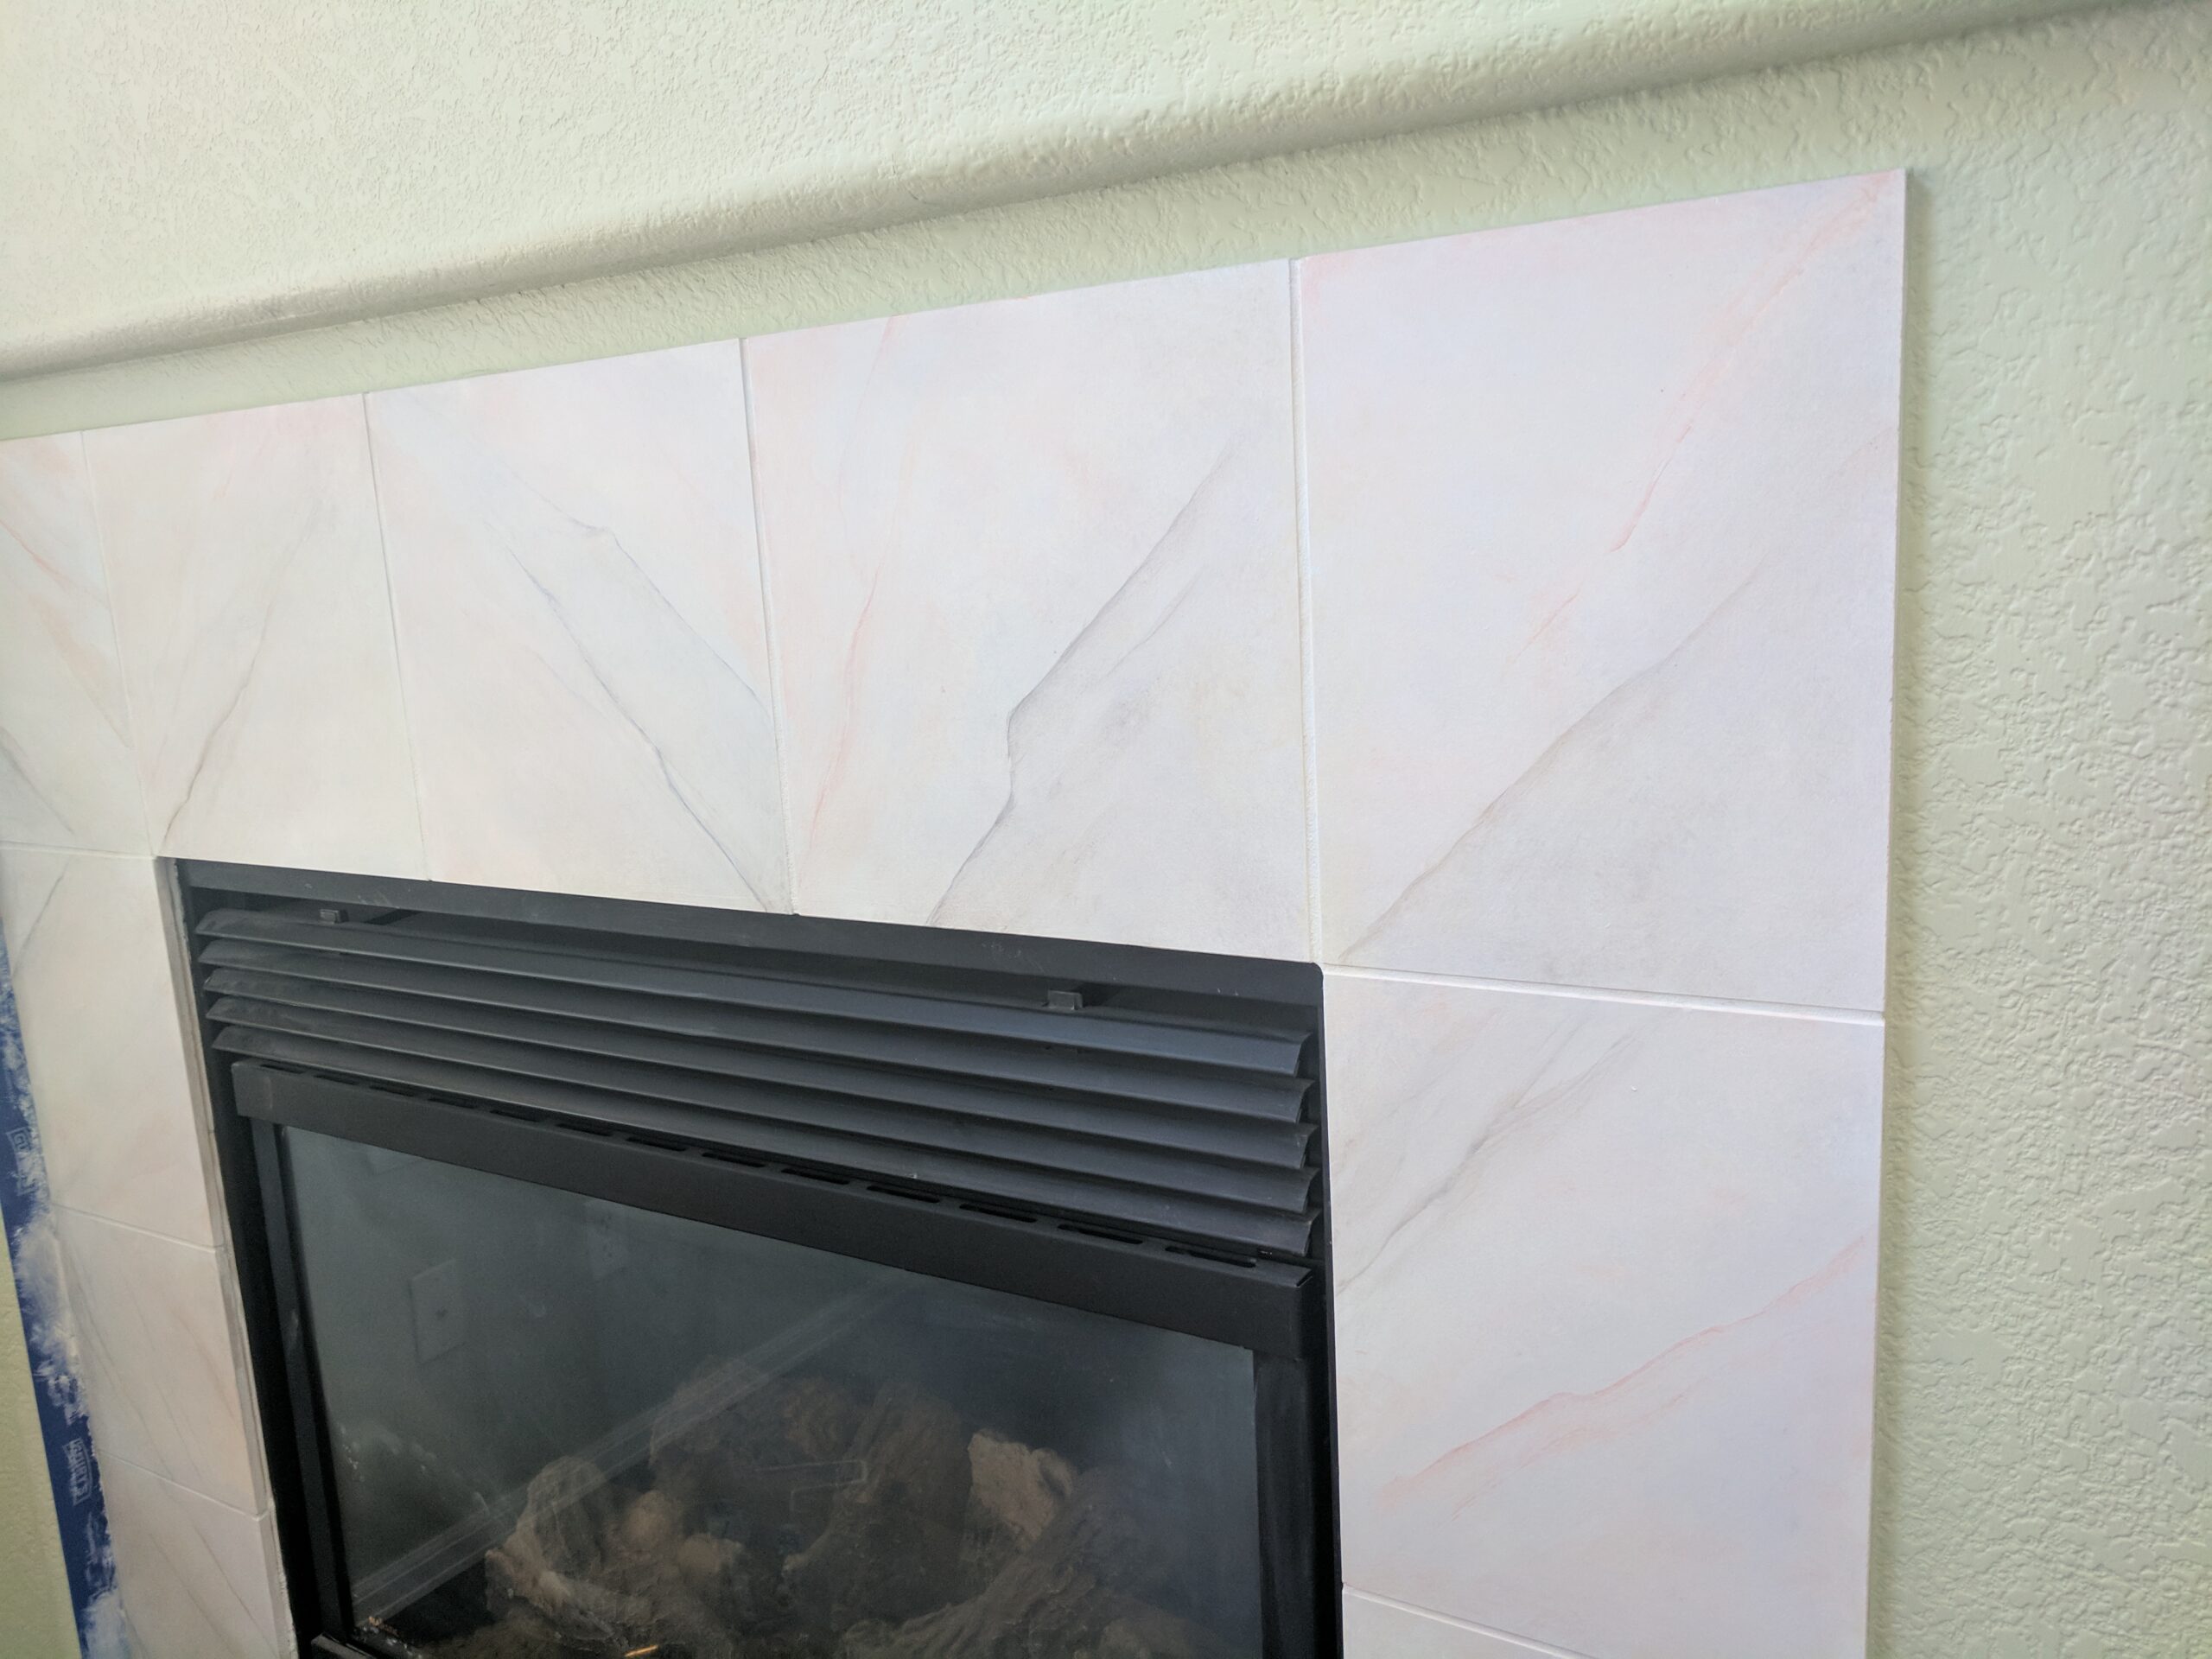
The fireplace was originally a pink stone tile façade, so I started with a white primer best suited for stone surfaces. The white primer also served as the new “grout” color in between the tiles.
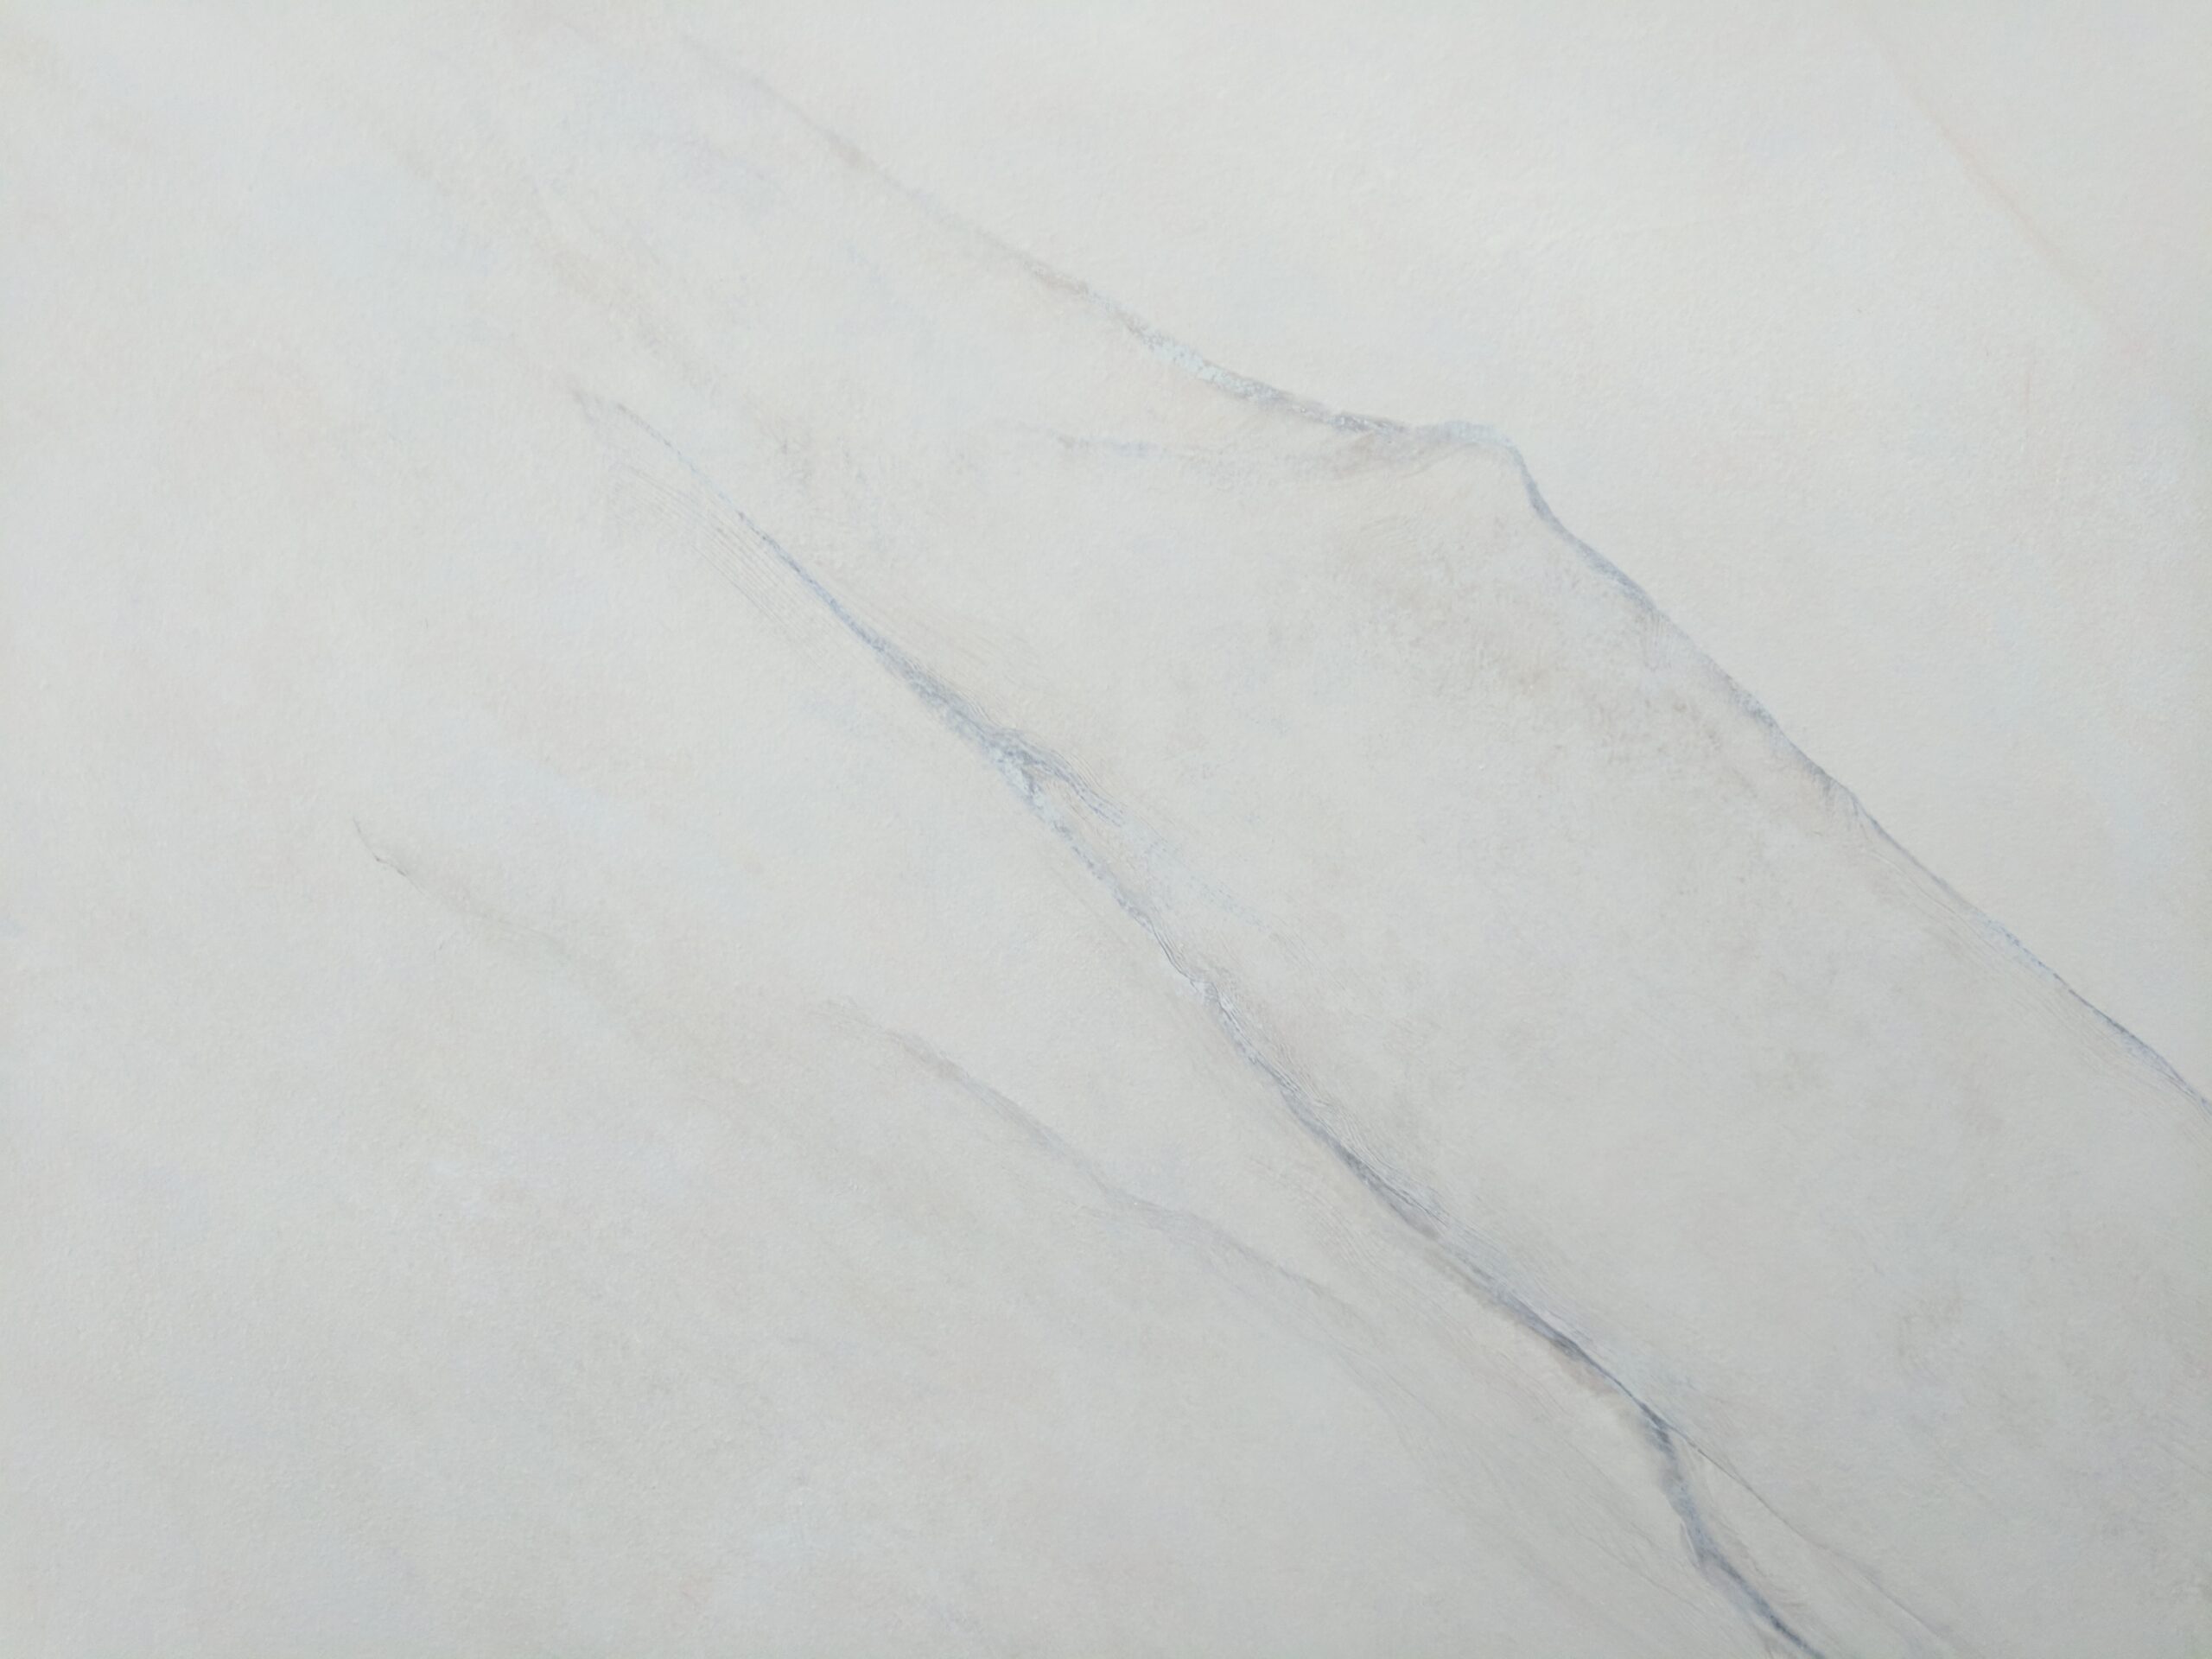
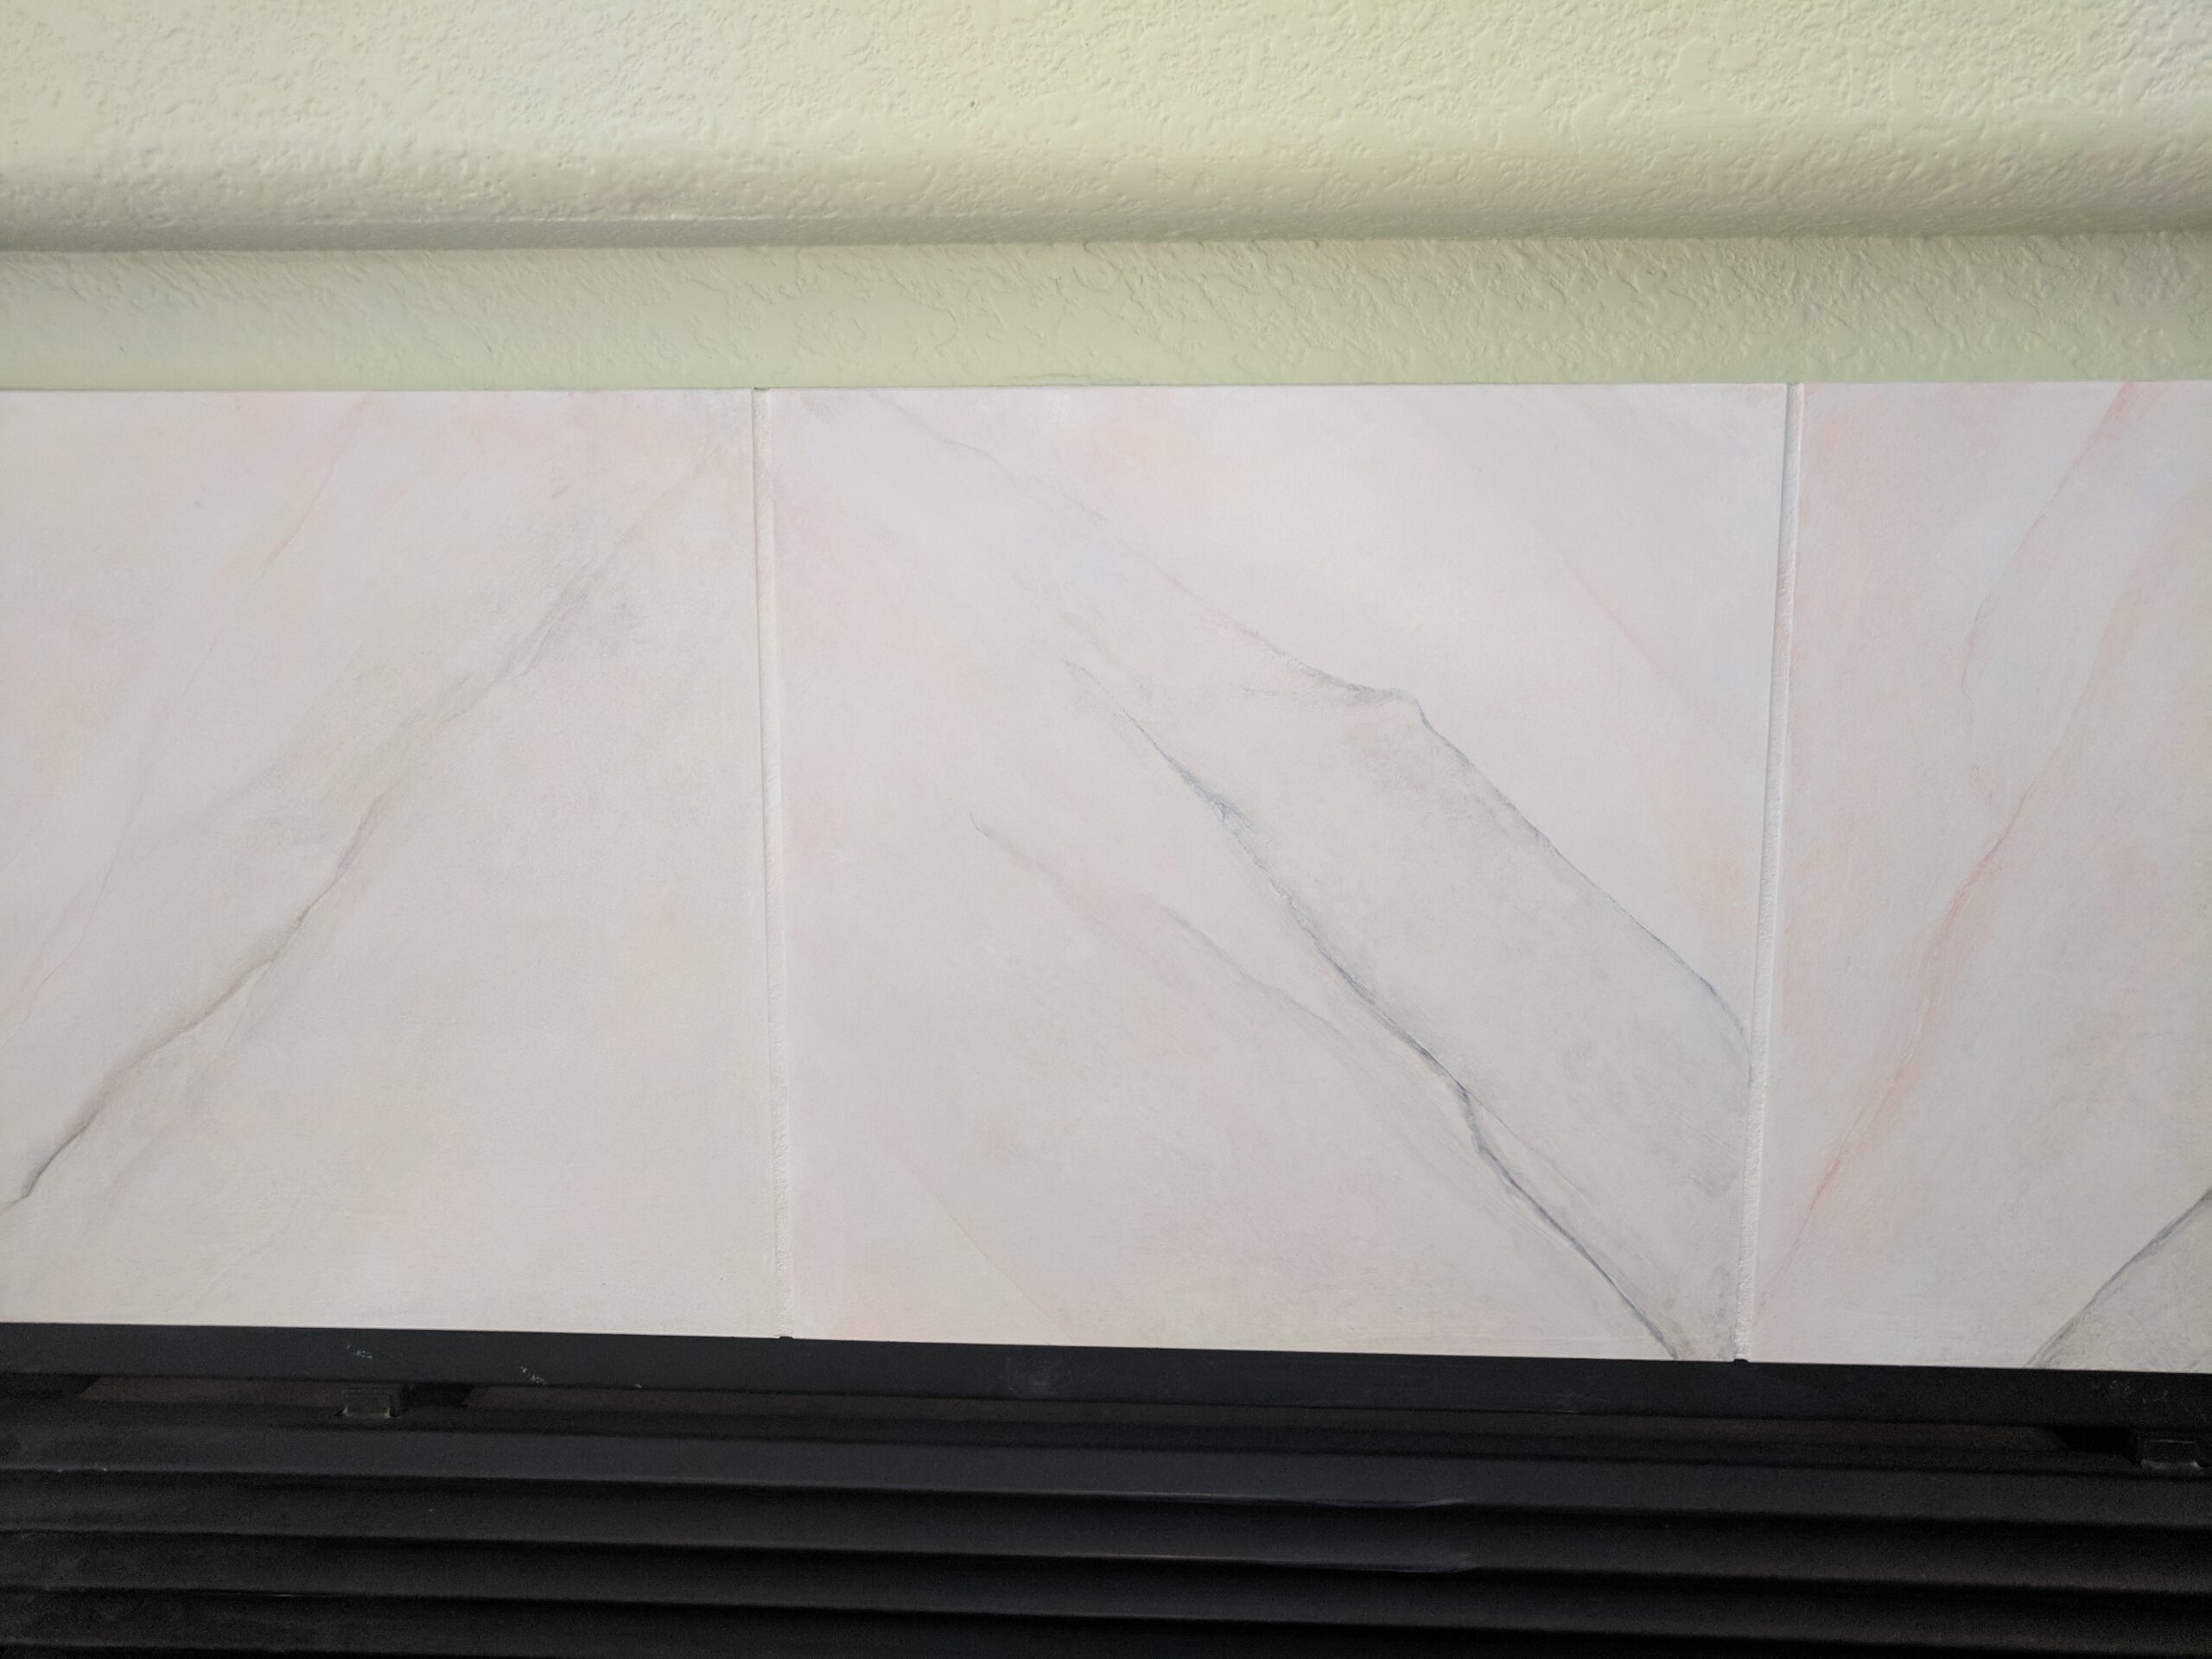
Next, I did several light rubs with different shades of greys and other earthy colors. Many artists’ first instincts are to water down their paints to give their rubs that thin, translucent look associated with finishes like this one. Instead, I use a compatible clear-coat to mix in with the paint to mimic the look of a watered-down coat. This lets me add delicate layers without having to fight with the tendency of watered-down paints to run.
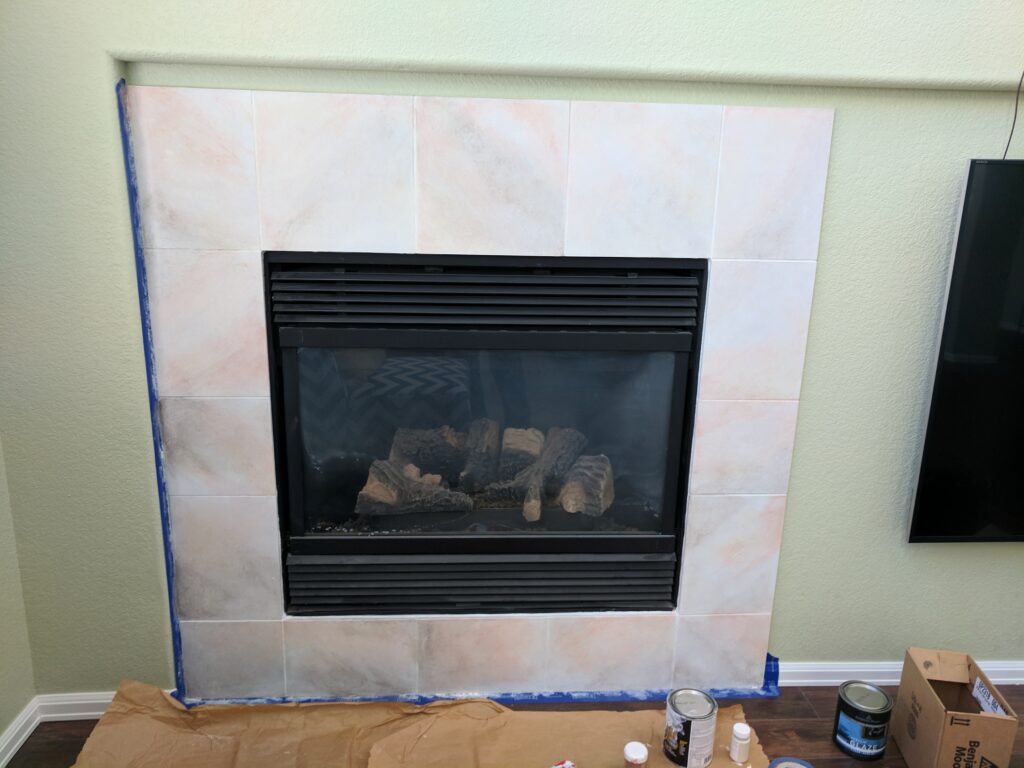
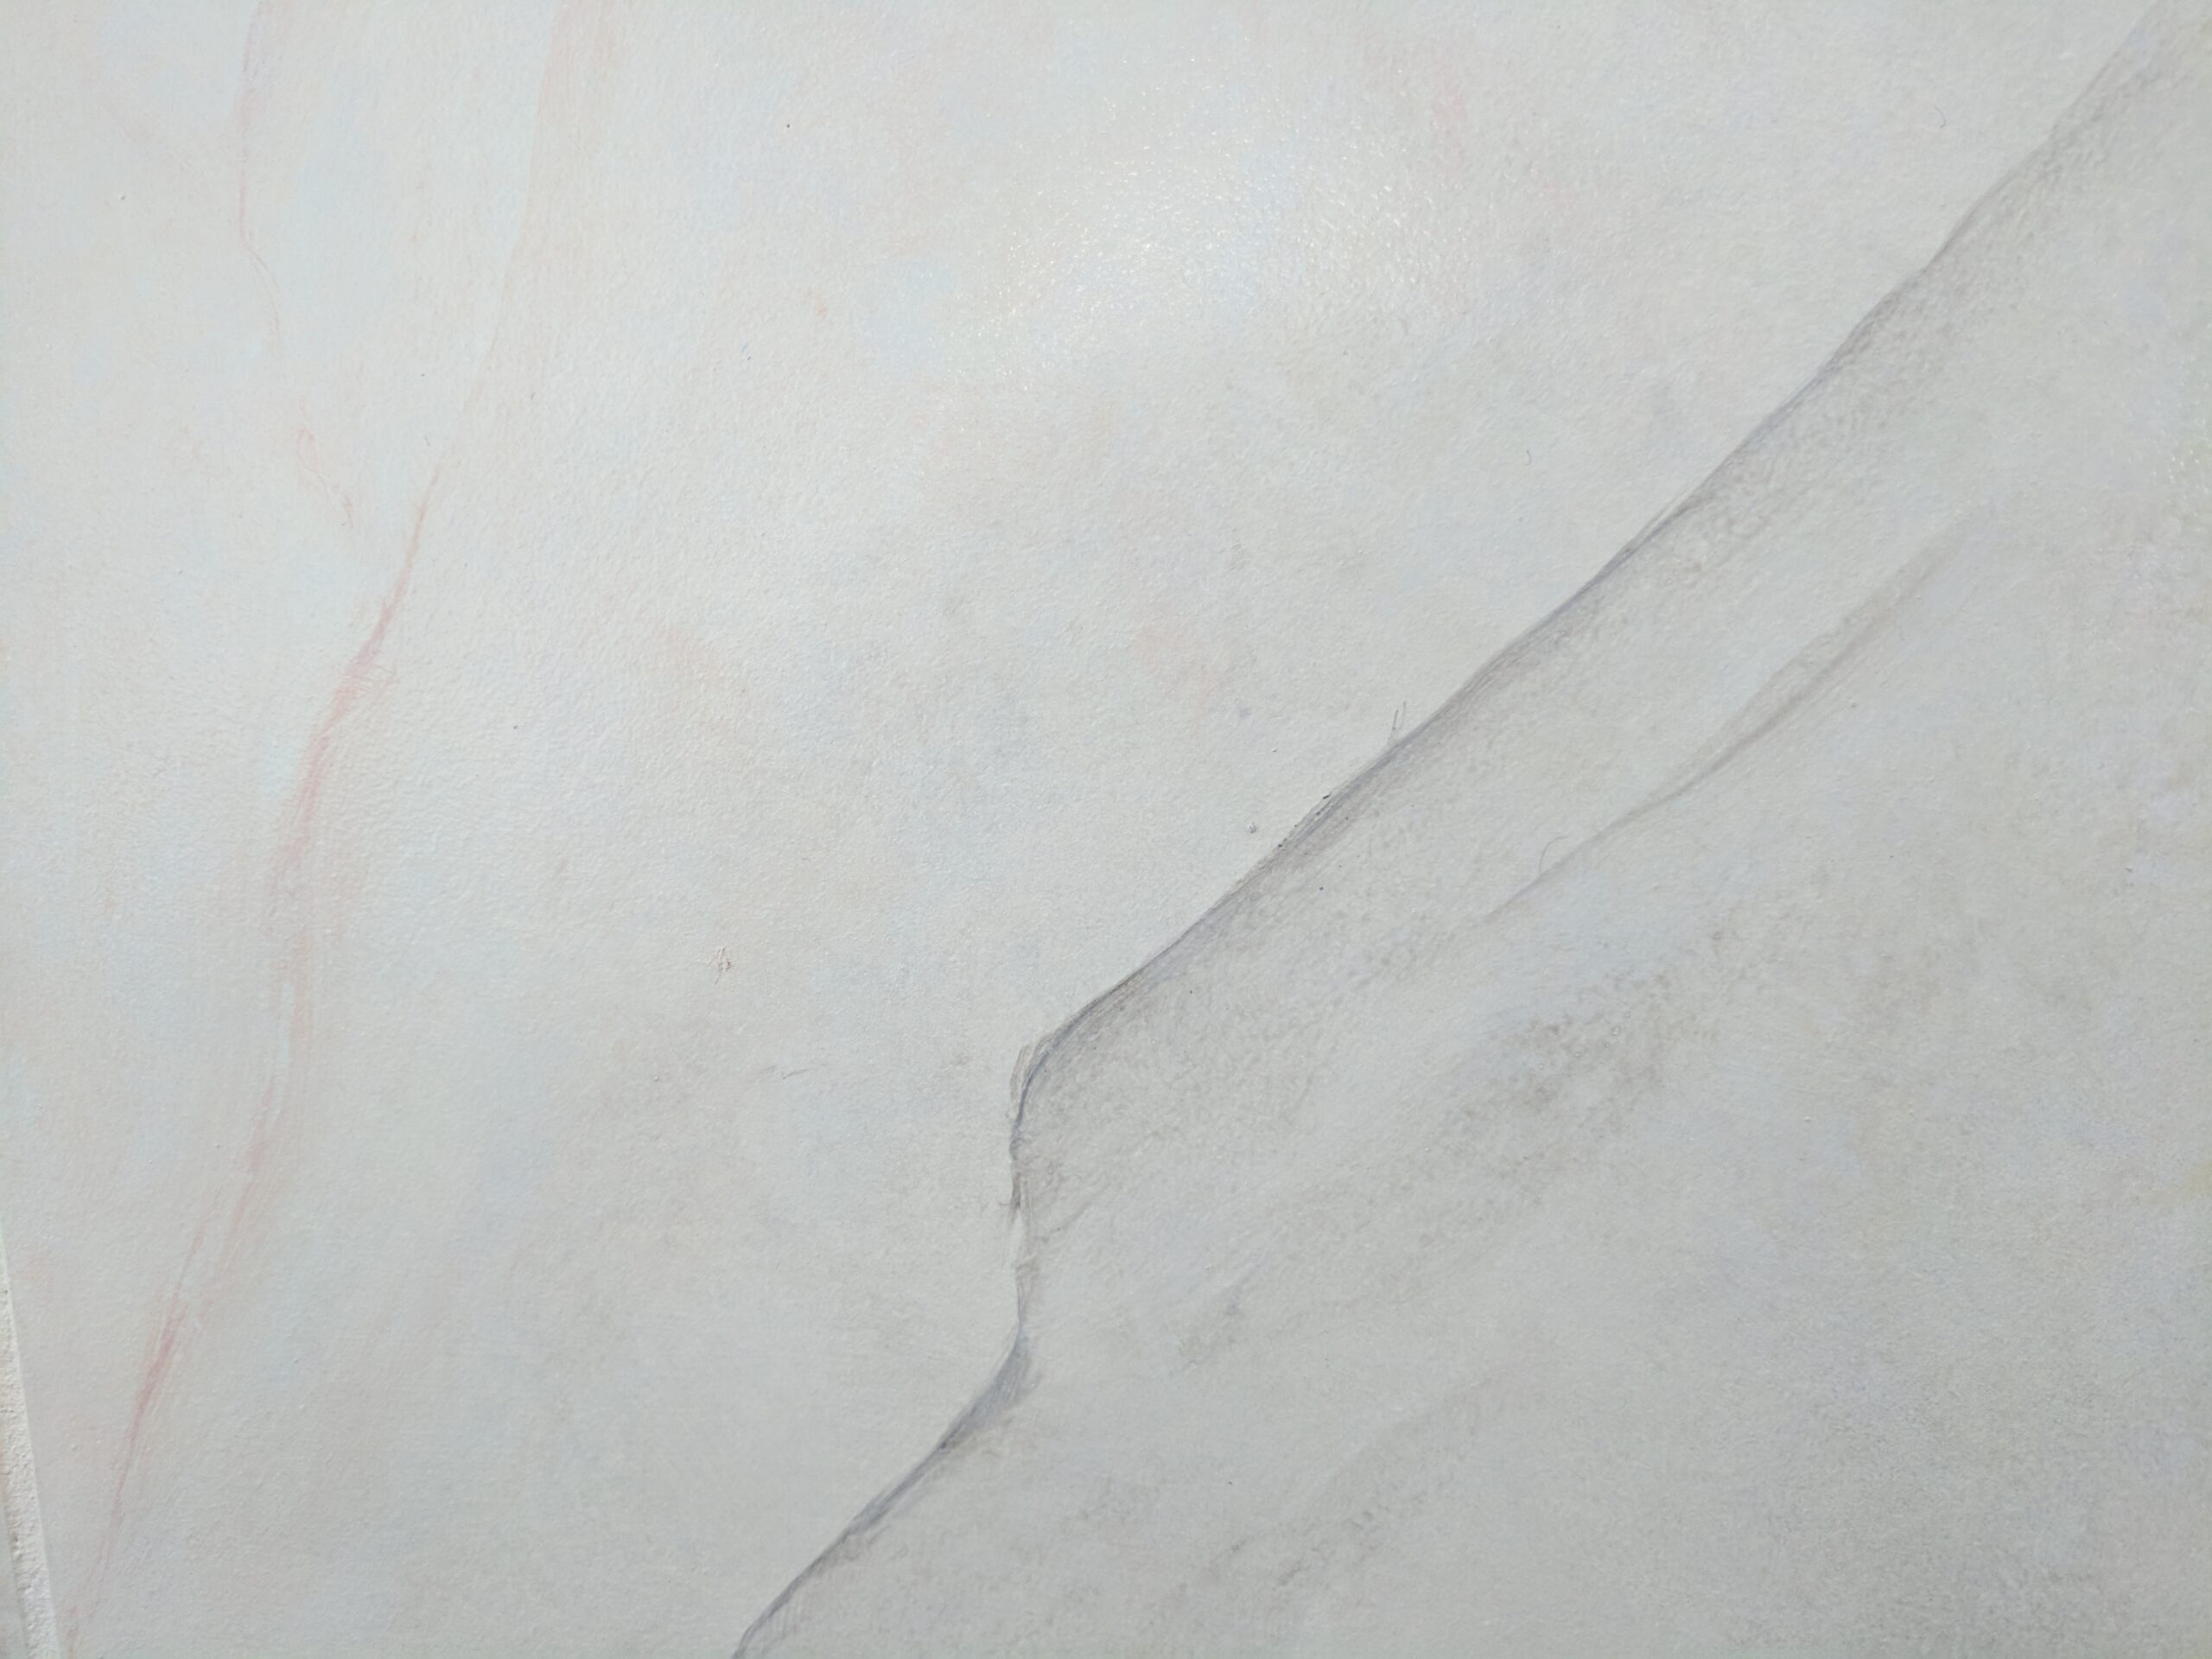
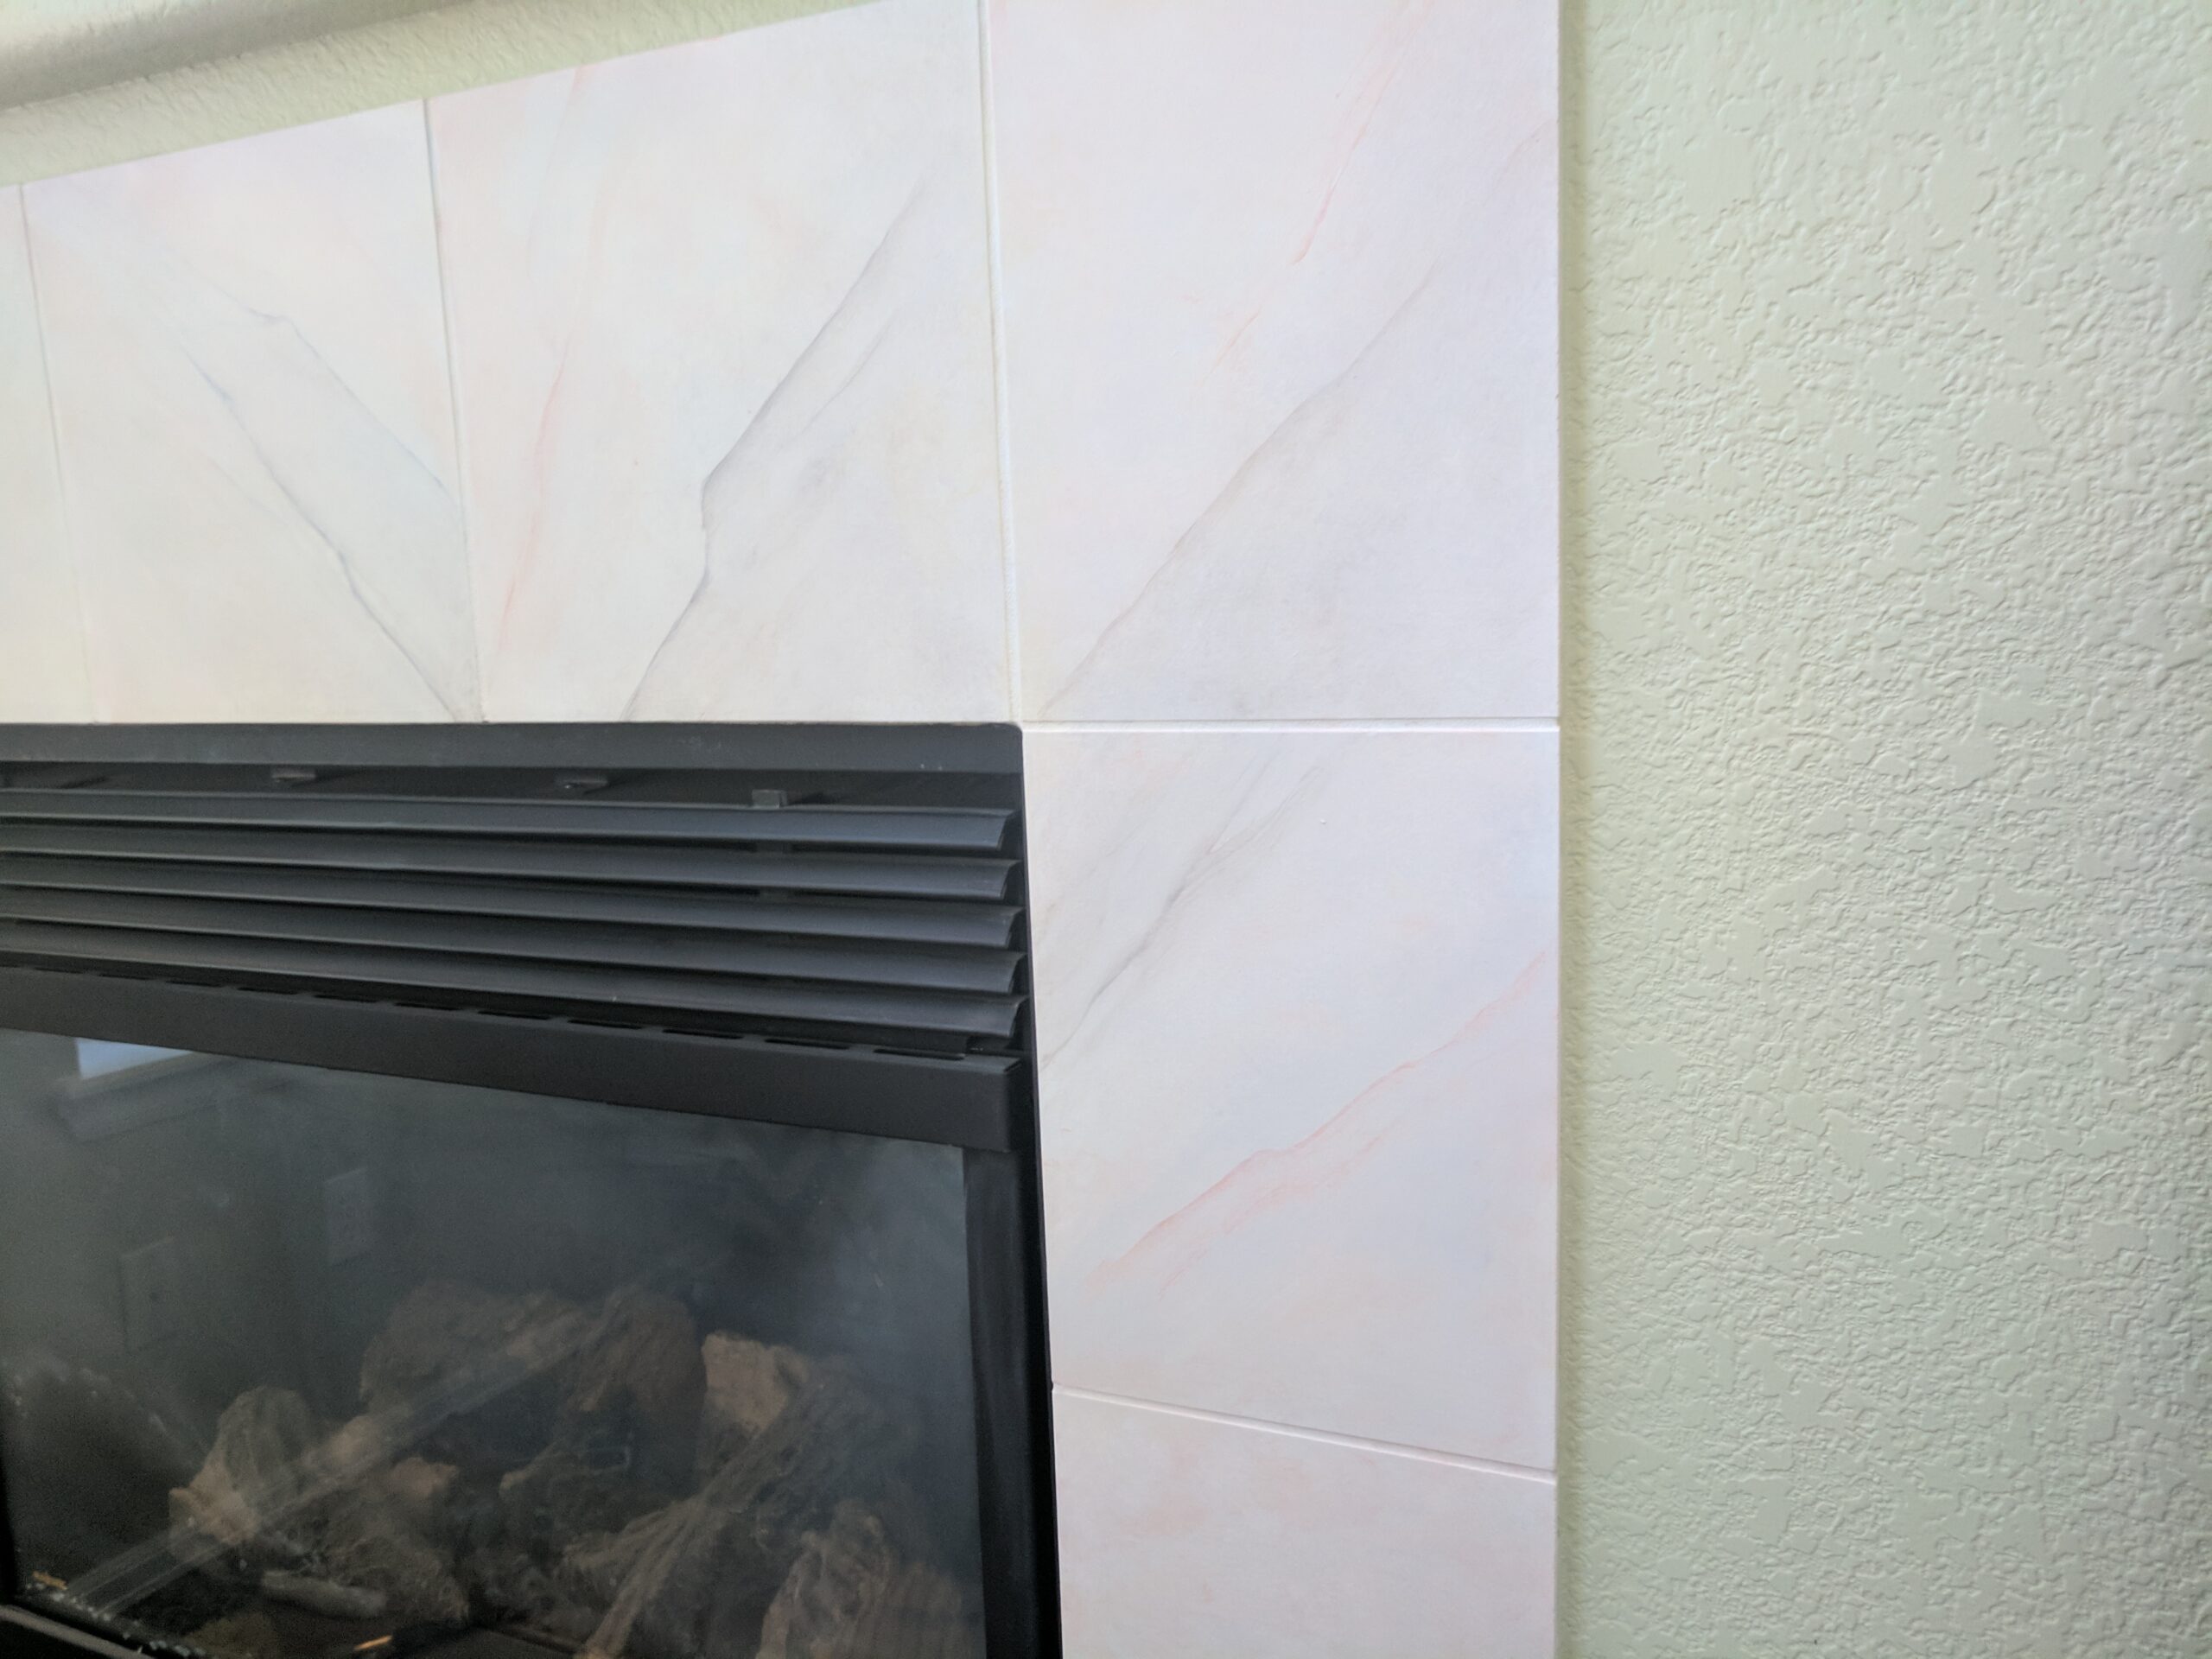
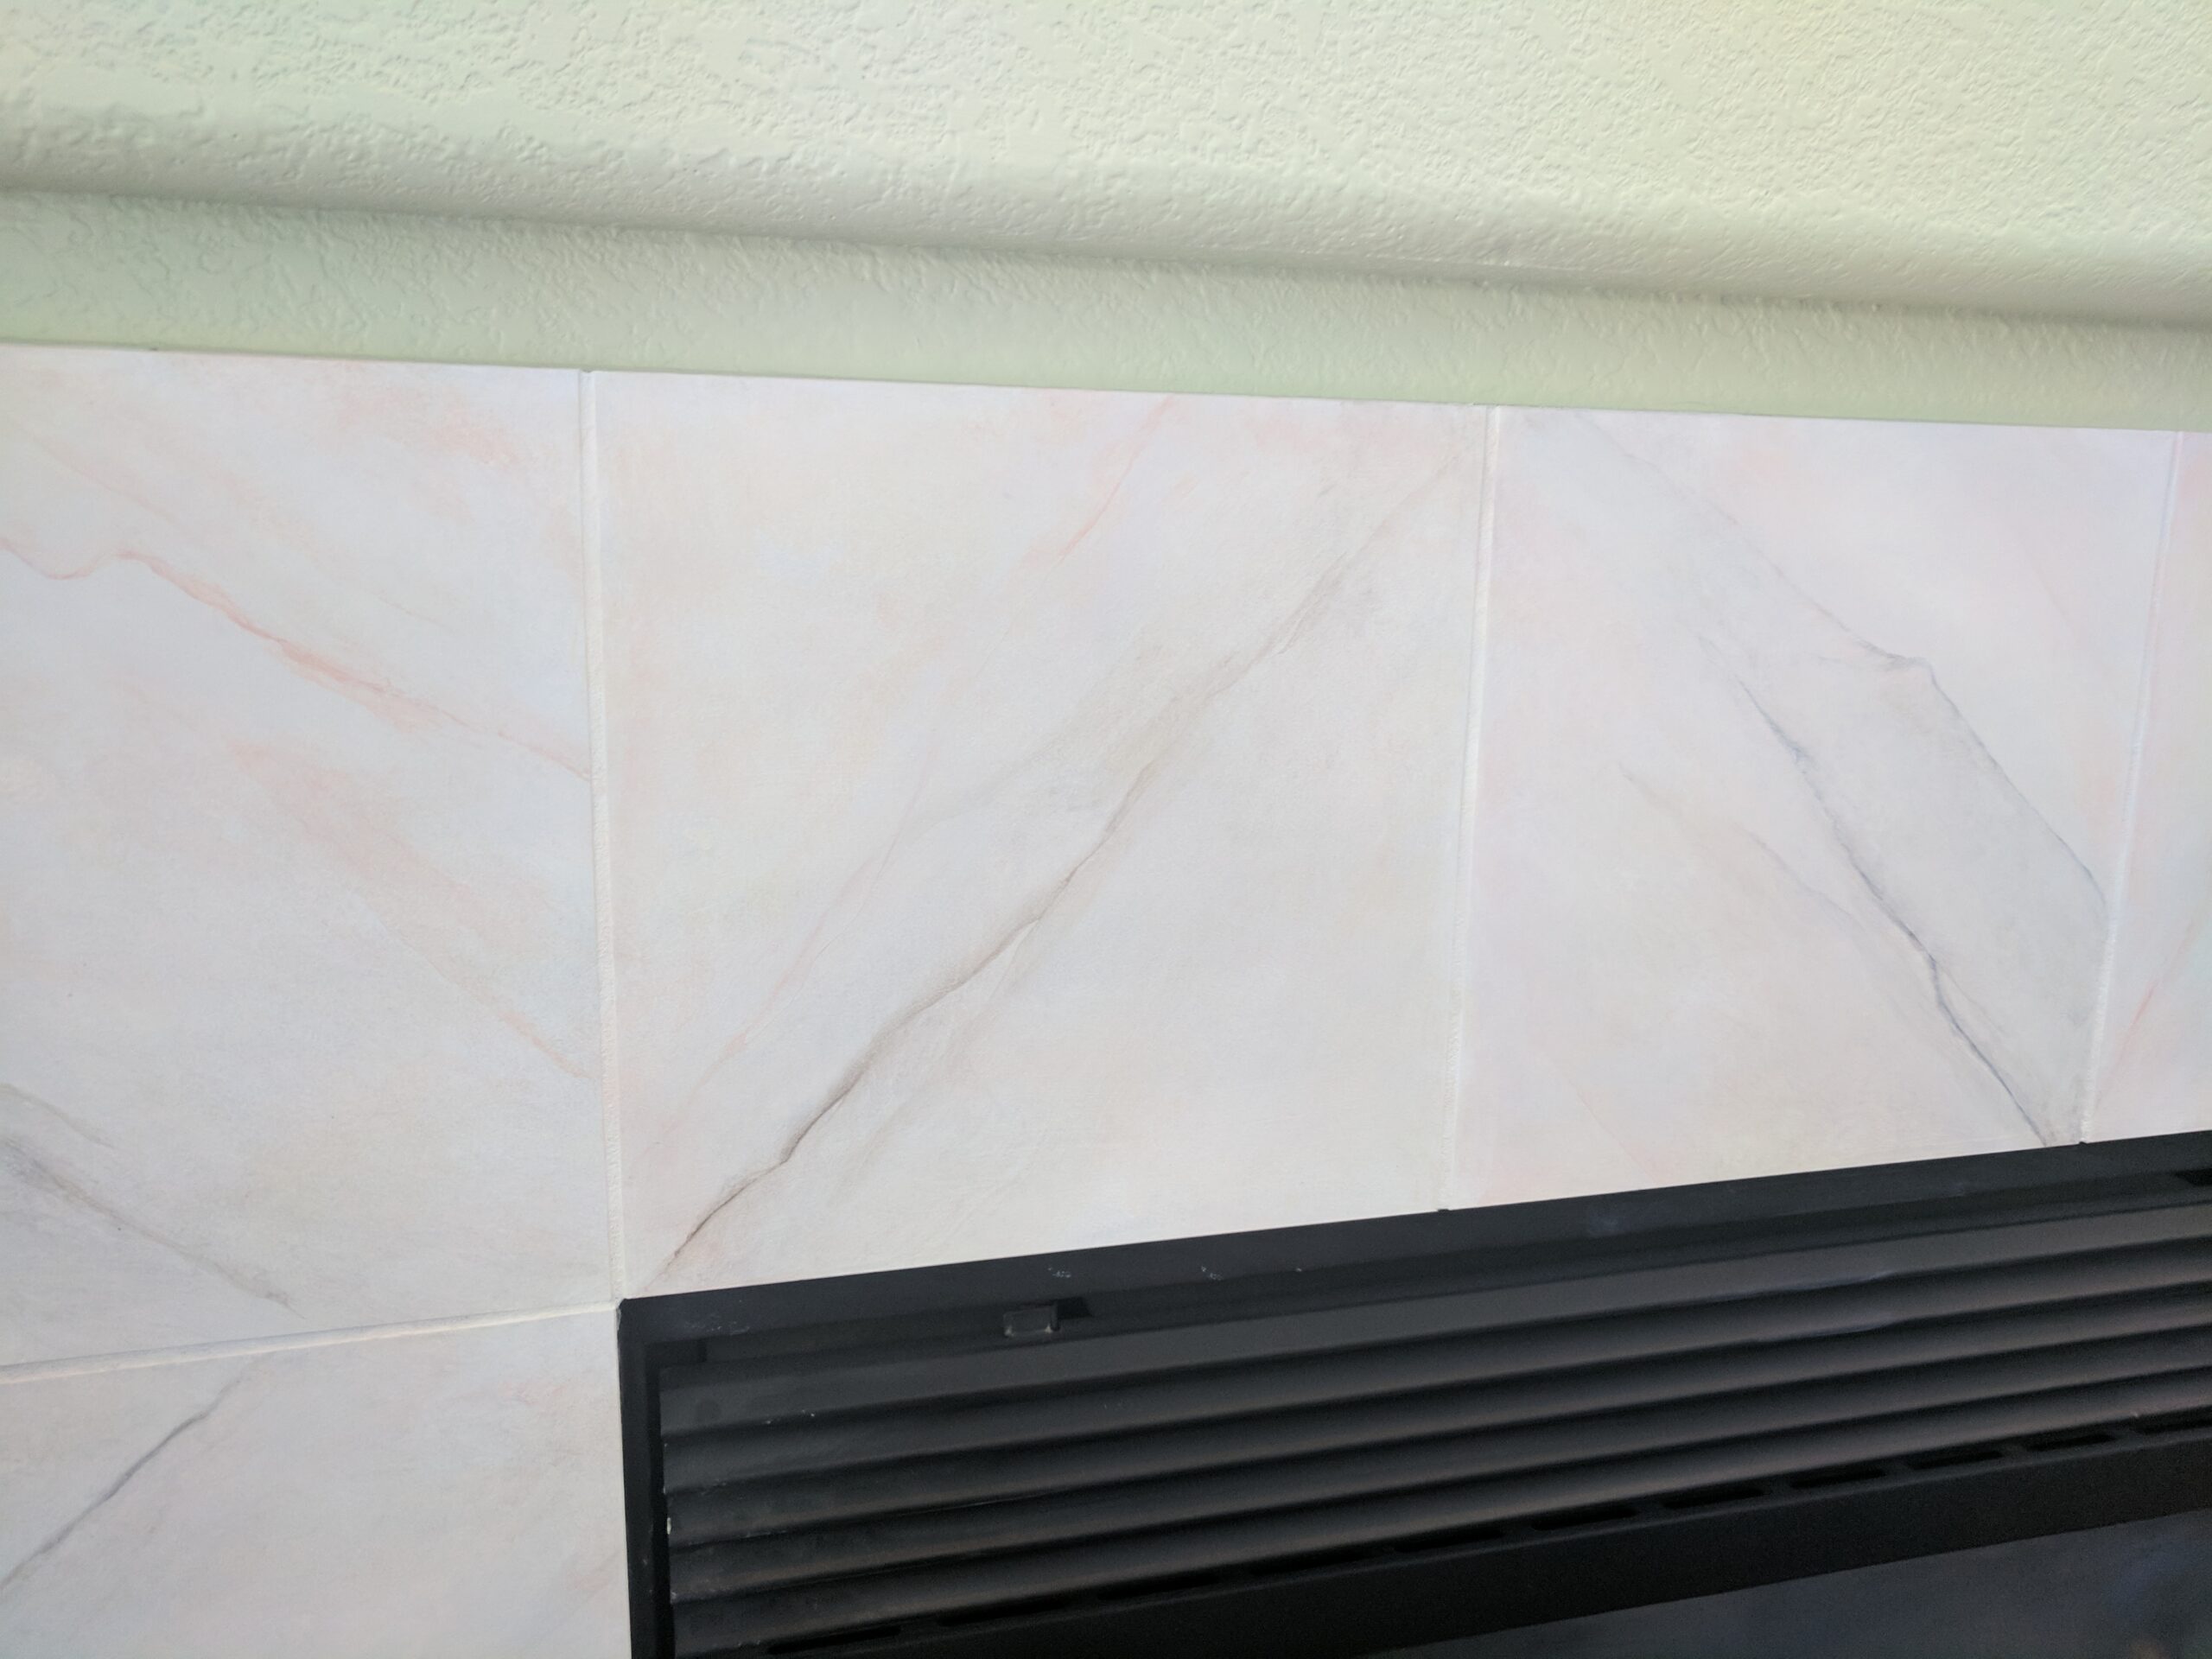
One of the most important things to think about when mimicking natural finishes is the location and the direction of the veining. I tend to add in veins that follow along with the darker areas of the rub, which imitates the natural changes you would find in the actual marble.
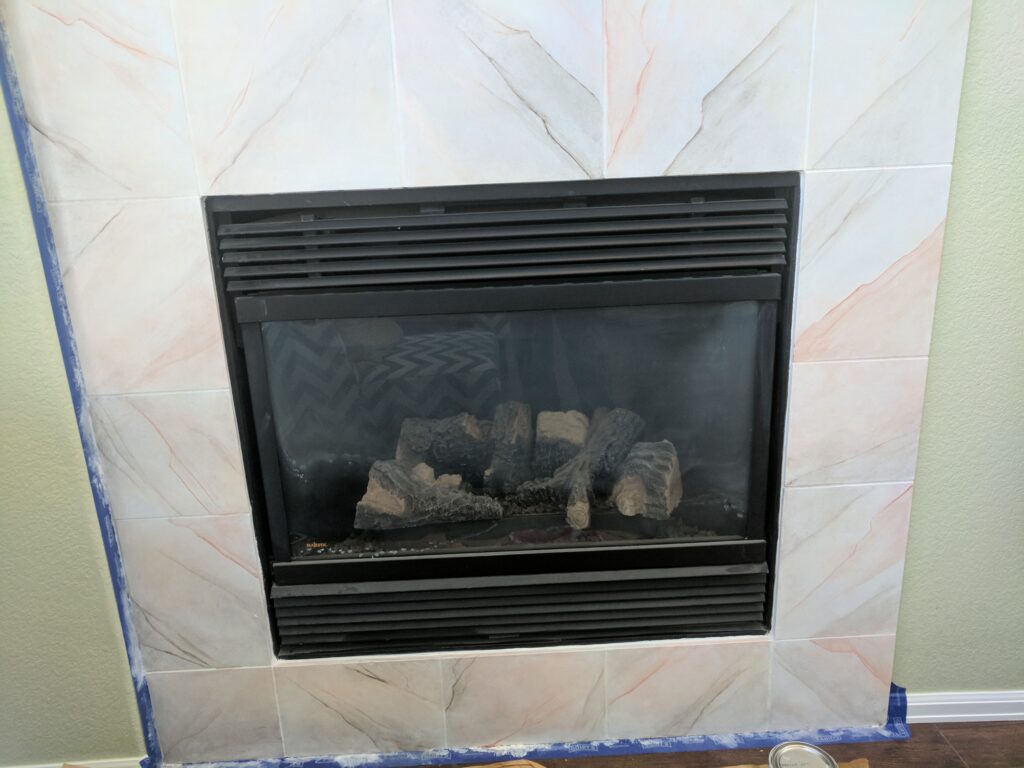
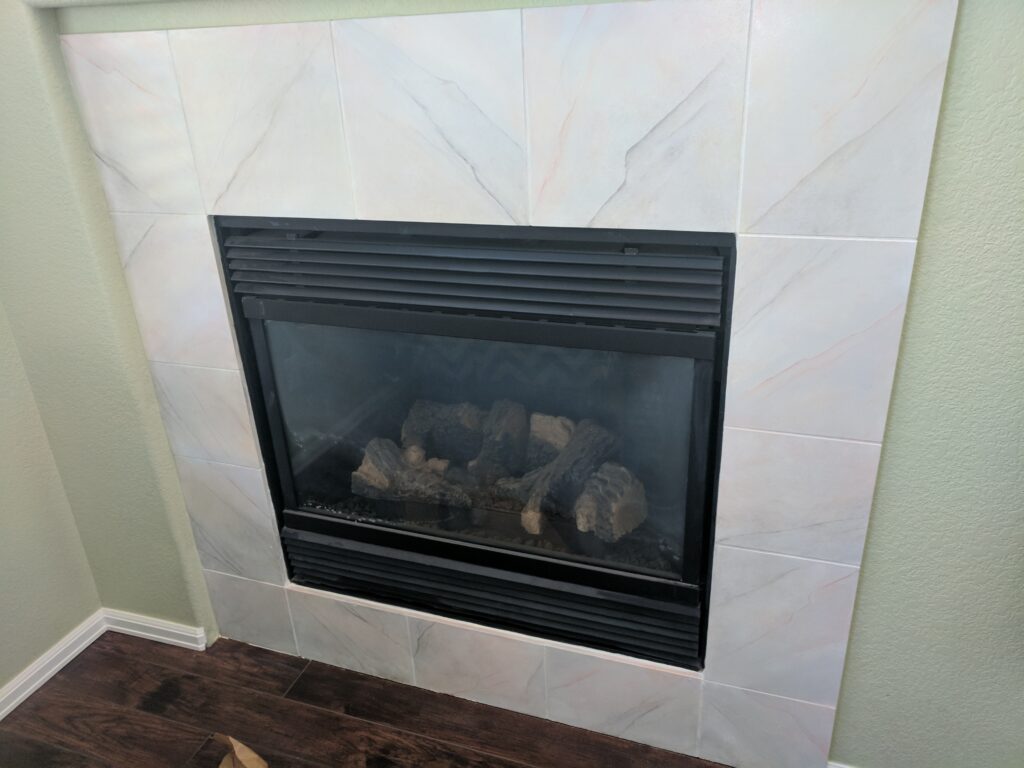
At the end of many faux finishes, I find that doing a light rub of the base color will help add an extra level of depth to the look. In the final photos below, you can see the finished product has a more subdued and realistic look. (This is also a great tip if you feel like you’ve gone too heavy-handed on a faux finishing project. You can always try toning down a layer with a thin rub of a softer color!)

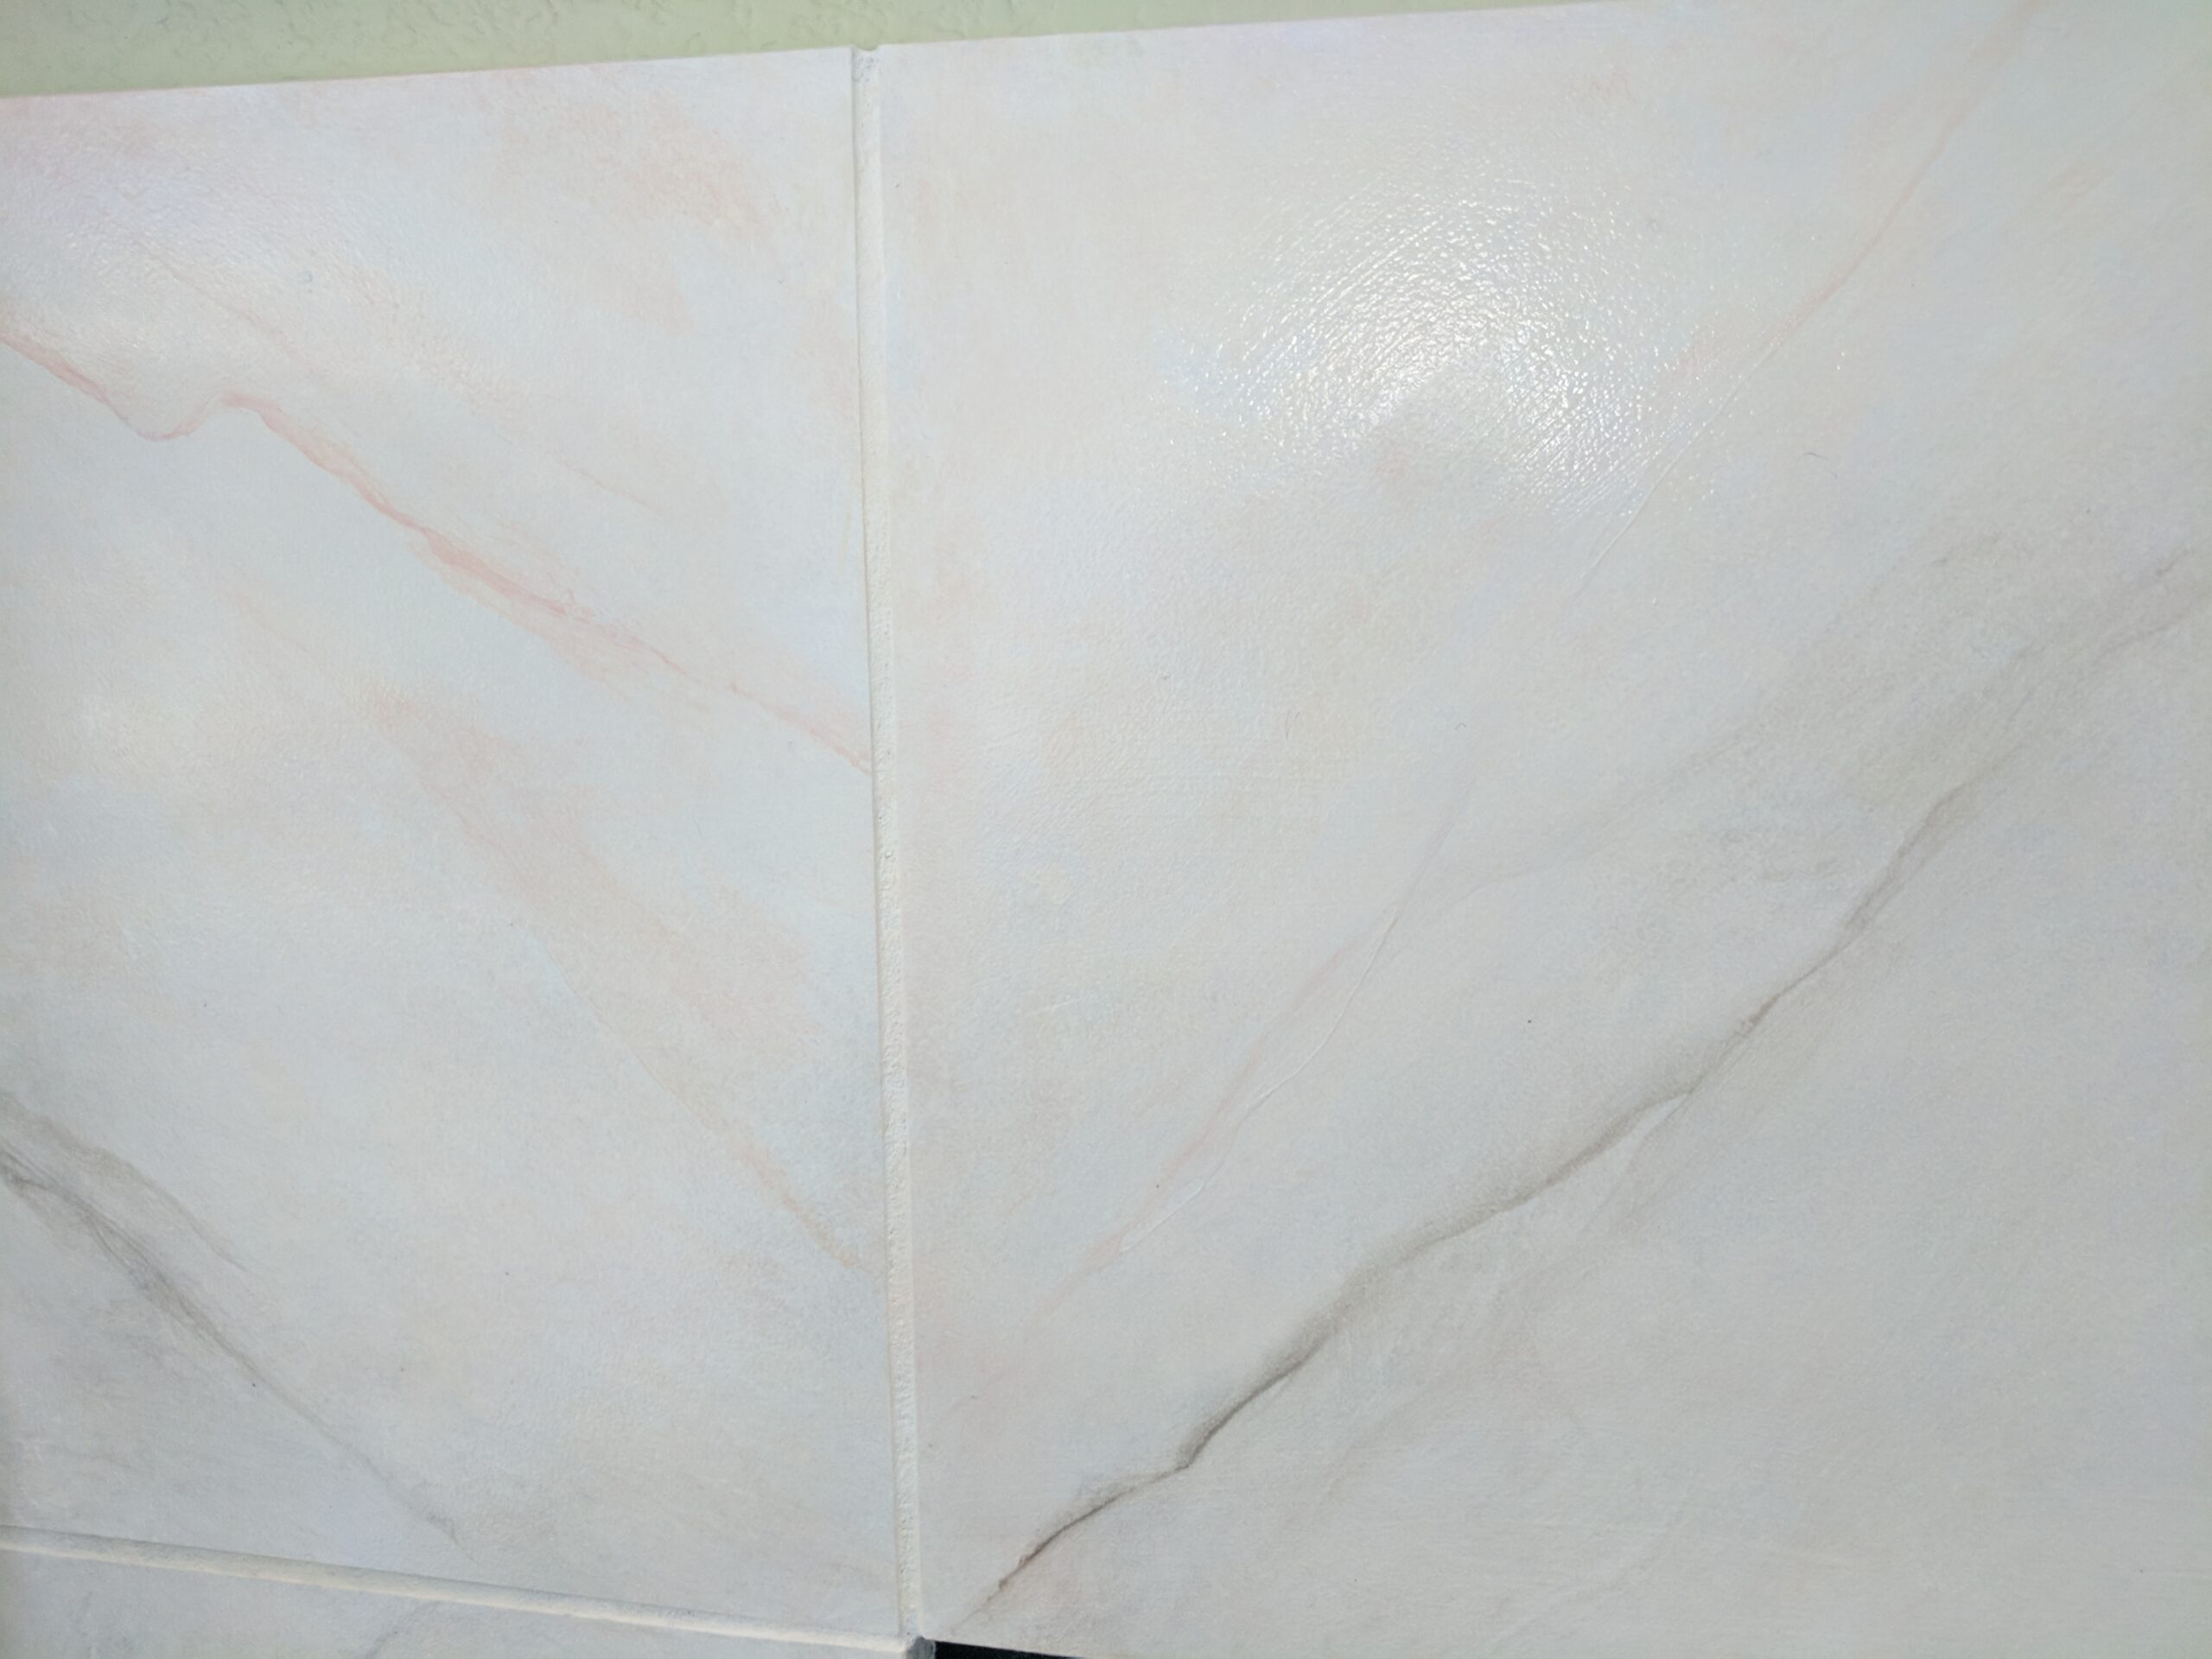
In the end, be sure to coat your faux finish with an appropriate clear-coat. Use a clear-coat to both protect your artwork, and to give your marble look a realistic finish.
This project took about half a day. If you’re interested in something like this at your residence or workplace in the Dallas metroplex area, please check out my Portfolio page for more examples. You can get in touch through my Contact page or on social media for a quote!